
Streets and Roads, Part 3 of 4: Grade Crossings
Grade crossings have always been a modeling challenge, given the need to keep flangeways clear. This is especially difficult in Z scale, where tolerances are much tighter. Kits are available that make life much easier for modelers.
In my case, I had no choice but to scratchbuild my grade crossings. First of all, I have handlaid code 25 rail, making the kits incompatible. Worse, one crossing runs through part of a turnout.
Following typical practice for typical grade crossings, I installed pieces of stripwood cut to railroad tie length along each side of each rail. This required sixteen pieces, all but two of which had to be carefully shaved to match the curve of the rails.
After several iterative shave-and-test-fit cycles, each piece was installed by lightly pressing the tip of a sharp knife into the wood, dipping the wood in a small drop of CA, and carefully positioning it in place. After all of the pieces were installed, I sanded them to even out their surfaces. Finally, I applied India ink wash to age the wood.
To make the tiny bits of blacktop that fit in between the ties, I made a paper template by rubbing a pencil over a piece of tracing paper placed on the crossing, then traced the shapes onto .030-inch thick black styrene with a sharp knife.
Even though the parts were cut according to a tracing, they still required adjustment to fit perfectly, so there was another round of shave-and-test-fit cycles for each piece. Then they were sanded, distressed, painted, and bonded in place with CA. Finally, I weathered the finished crossing with powdered chalk.
Incidentally, the grade crossing serves as a dividing point for the access panel: the removable portion of the street butts cleanly up against the ties along the outside of the rear rail. Thus there's no obvious point at which the street becomes removable.
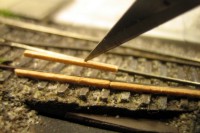
Stripwood pieces are carefully shaved to shape and bonded in place with CA.
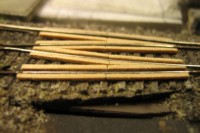
Once all of the wood parts are installed, they're sanded smooth.
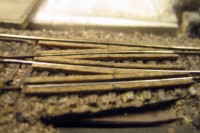
India ink wash is used to age the stripwood.
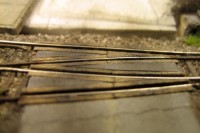
Tiny slivers of painted styrene fill in the spaces between the ties.
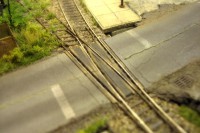
The pavement for the access panel butts up against the grade crossing.
Copyright © 2007-2013 by David K. Smith. All Rights Reserved.