BR&W Office
Reference
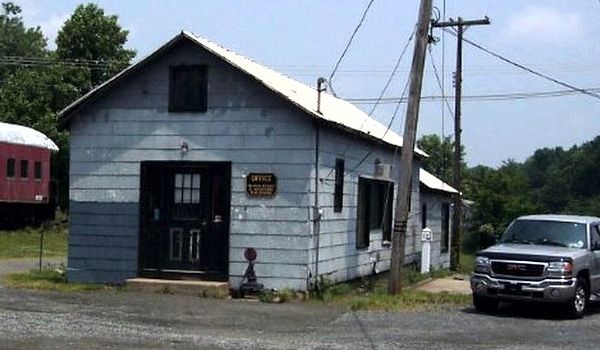
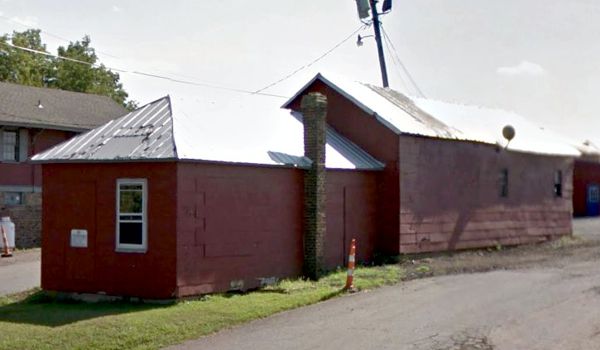
To be strictly accurate, this is the former office; the building is now the headquarters of KB Logistics, a woman-owned trucking firm that uses the BR&W for rail-to-truck shipping connections. From the scant information I've found, it appears this was originally part of the Ringoes Lumber Company; there appears to be a truck scale along the side (below right, image taken by Kevin Wong, June 2007). I modeled it as it was when it might have been the BR&W office—it all depends on when it changed hands, which I've not been able to determine, nor have I found any photos earlier than this.
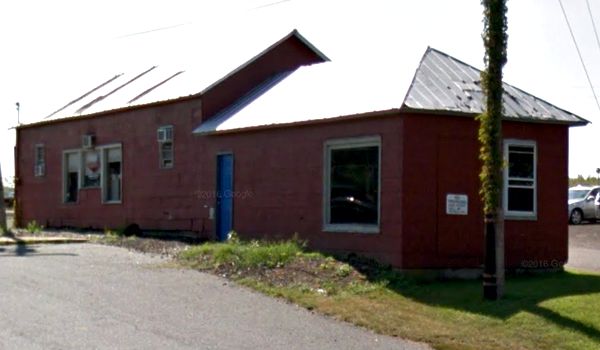
The second and third images are from Google Maps.
The Model
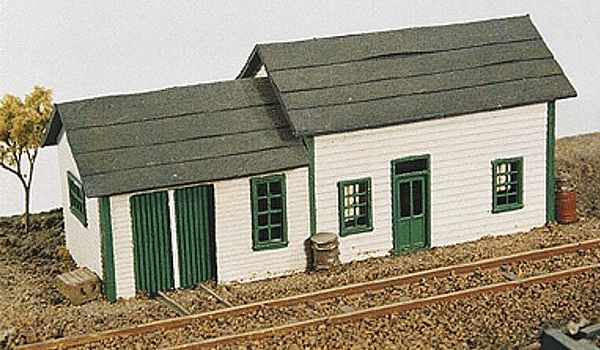
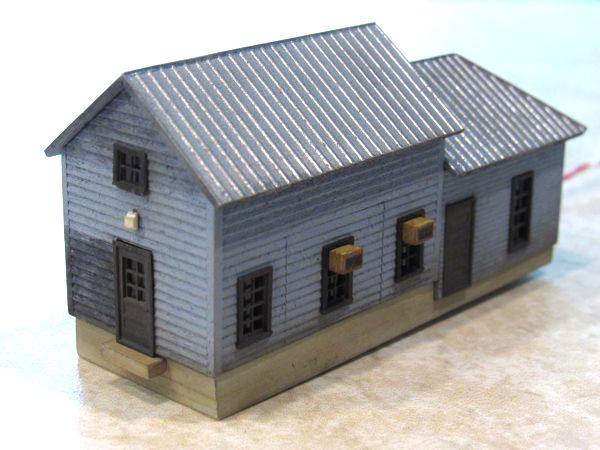
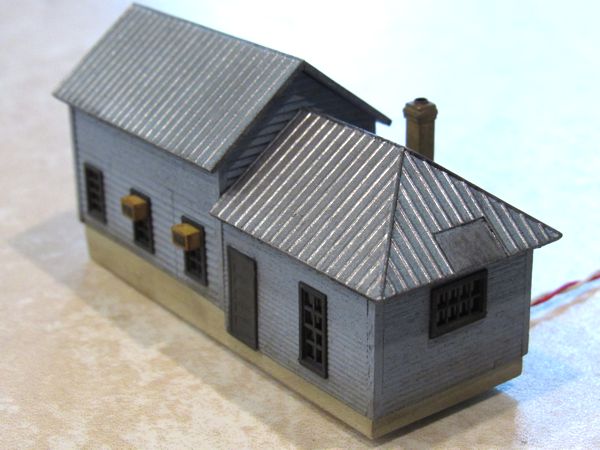
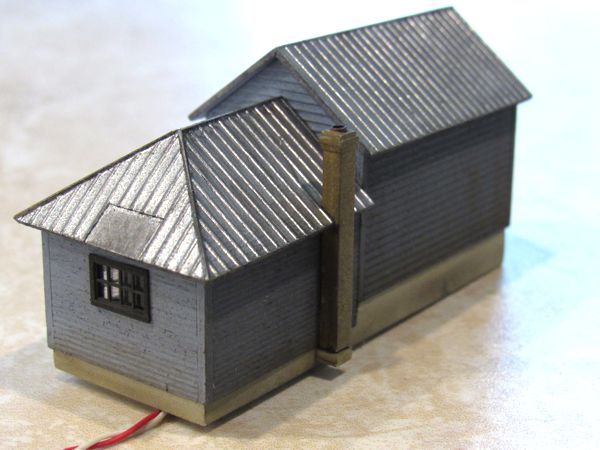
My starting point was JL Innovative Design #260, East Junction Section House, a laser-cut wood kit with Grandt Line window and door castings. Granted, there were numerous discrepancies to deal with: the model siding is clapboard, versus the fiber cement siding of the real building; the model's windows and doors are not even close; the roof of the lower portion is different; it's somewhat smaller (not a bad thing), etcetera. However, given its location, this constitutes a background building that'll be barely visible, so just having the basic size and shape is a good beginning. Plus, the kit is flexible enough to allow me to rearrange some of the walls; I'll also make a new roof and add a few details that will bring it closer to the mark than if I'd just done a straight build of the kit.
Main Subassemblies
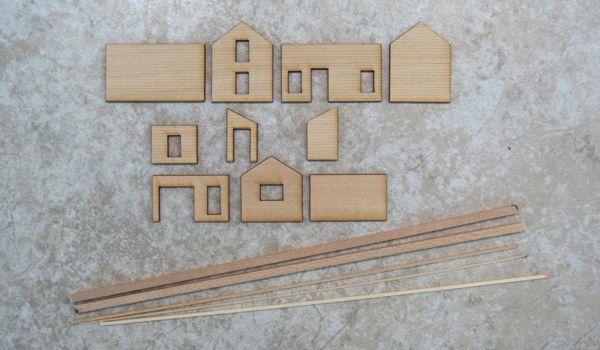
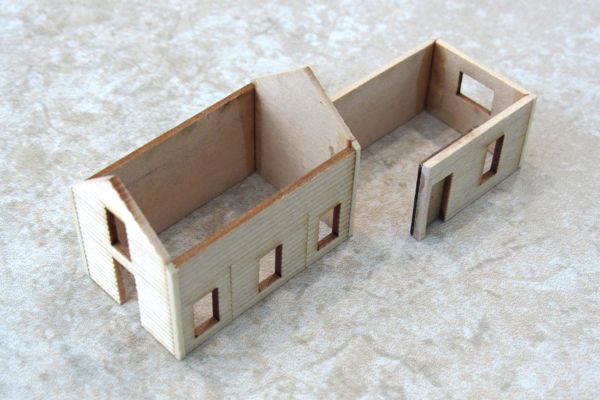
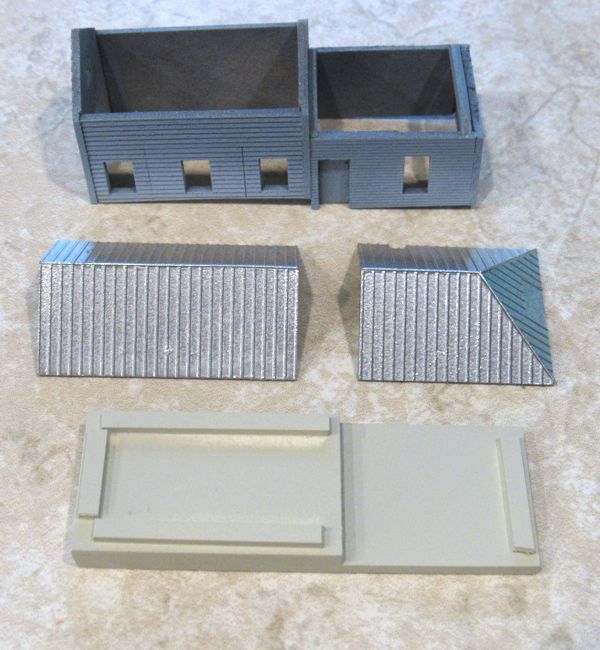
Despite being something of a background building, I felt compelled to at least try to correct some of the bigger issues. First, I replaced the wall with the speeder doors with a scrap of laser-cut kit wall that happened to have the right size window opening and the same siding. And, as it happens, it's just as well, since the kit window opening was too large for the supplied window. The other major change was to use one of the add-on parts (which I didn't need) to fill in the door opening on the large long wall. I also enlarged the lower window on the large end wall to become a door, and trimmed the peak off of the other end wall. The rest was a matter of rearranging the parts.
In the image above, the third part from the right is the one I replaced; the original part is below it. You can also see the window that replaced the door opening on the fourth part from the left.
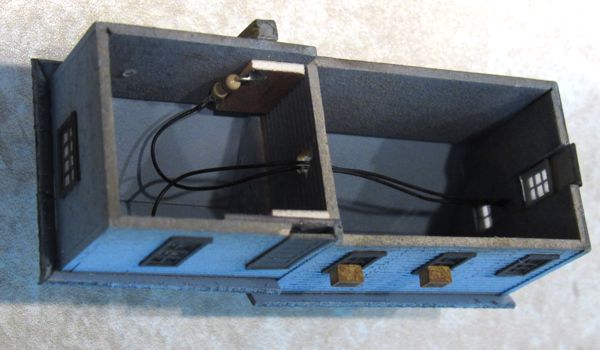
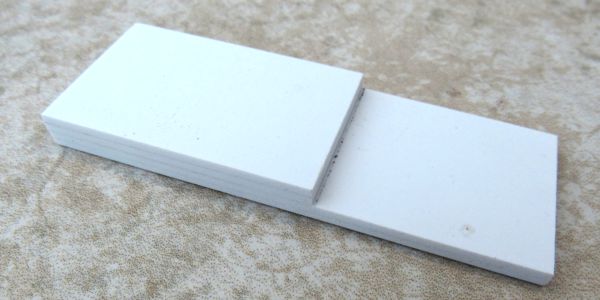
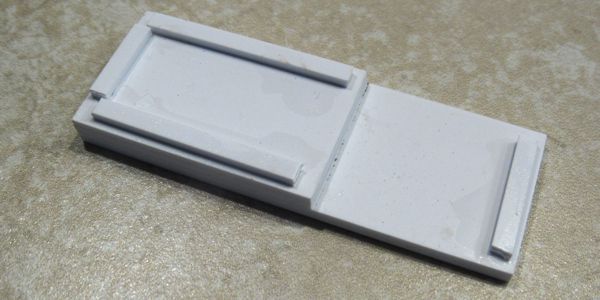
After assembling the two main structure shells, I fabricated a foundation from four pieces of 0.060" thick sheet styrene, assembled in a step such that the smaller part of the building sits lower, as is the case with the real building.
Once the foundation was done, I was able to connect the two building shells together.
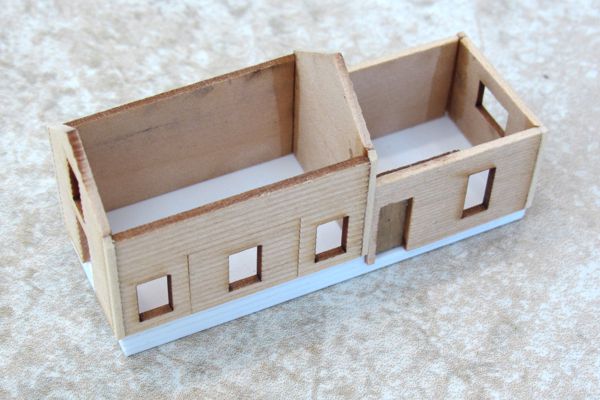
Everything was assembled with brush-on Krazy Glue. Work began on the afternoon of 15 September 2019. In reviewing the project up to then, I decided to partially fill in the window over the door on the high end to put a small vent there, so it would be more in keeping with reality, and also to provide room for a light over the door. The next day, I did just that (below left). I also installed roof supports for the lower roof (below right).

I also installed 0.040" x 0.060" styrene indexing strips on the base to hold the building in position, but allow it to be removable.
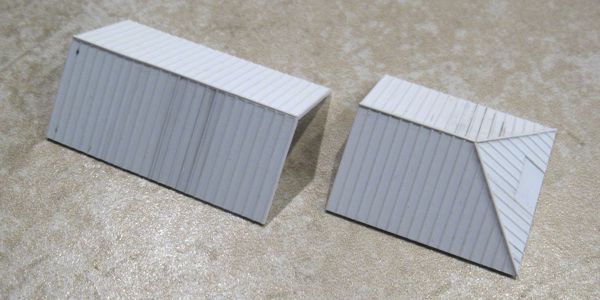
Then I fabricated the roofs from Evergreen board and batten sheet styrene, with 0.015" x 0.020" strip styrene ridge seams. I also added a patch to the end roof part, as seen on the real building (below, far right).
Painting and Final Assembly
Painting was quick and painless. For the building, I started with Krylon Primer Grey, followed by Valspar Flat Silver Fox. The roof of the real building is surprisingly brilliant, so I went with Krylon Chrome. And the foundation received Testors Light Aircraft Grey.
The windows and doors were all painted Rust-Oleum Dark Grey Primer (with a few rare exceptions, pure black paint looks unnaturally dark on models). I elected not to cover the seams on the side of the building with trim or anything; there will be some odds and ends littering the ground around the building that should disguise them.
Details
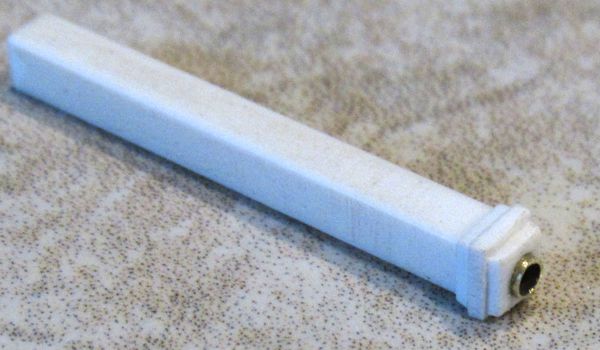
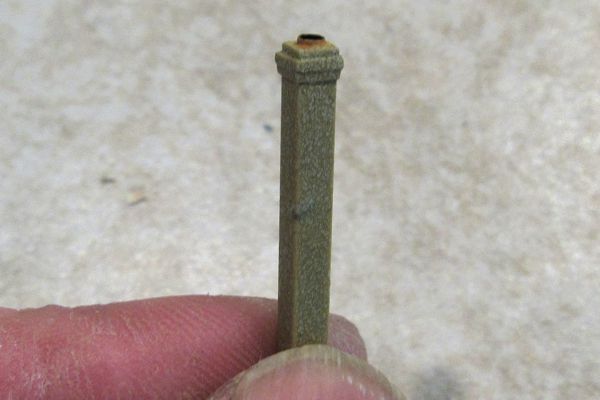
The chimney was one of the few details to add, and since it would be almost impossible to see under normal viewing conditions (the back of a building located almost two feet from the edge of the layout), I made it from plain styrene, rather than worry about simulating brick. I started with 0.125" square styrene tubing, stacked on squares of 0.020" thick sheet styrene to simulate the offset brick pattern at the top, then finished it off with a tiny bit of 3/16" thin-wall brass tubing for the flue liner. I sprayed it with a mix of Rust-Oleum Grey Primer and Krylon Camo Desert Sand, then brushed Floquil Refer Orange on the outside of the flue liner, and Floquil Engine Black on the inside. (Yes, this sounds obsessive for a tiny detail that may not even be visible, but it made me feel good doing it.)
Other details include: a concrete step at the main door, which is a chunk of 0.040" x 0.060" strip styrene painted Testors Light Aircraft Grey; a pair of air conditioners in two of the windows, which were made from bits of 0.125" x 0.125" strip styrene painted Krylon Camo Desert Sand, masked for the vents, re-sprayed grey, and rusted; and a light over the door, an 0402 SMD LED painted gloss white. Eventually I'll add the electric service line in, and maybe even a sign.
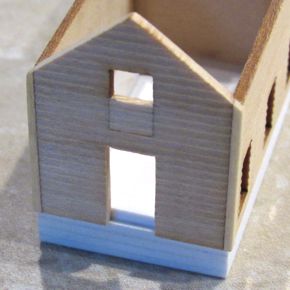
One last item was the vent over the door. At the last minute I decided instead to make it a window, cut down from one of the two windows left over from the kit. Oh, and the other leftover window was cut down and installed in the main door to change it from a one-light to a six-light door, which was more in keeping with real life.
Weathering and Glazing
The roof was too brilliant for my taste, so I hit it with a heavy India ink wash. I was going to apply an ink wash to the whole building, but thought better of it after seeing how dark it would get when I tested it on a hidden spot, so I just applied a couple of small blotches of it where the real building had some patchwork paint thing going on, then used powdered pigment and very lightly applied some "splash" dirt along the bottom edges of the siding. And I dirtied up the foundation with more powdered pigment.
One other touch I made was to dust on a very light amount of medium grey powdered pigment onto the doors and windows to bring out their detail. The very last thing to do was install window glazing, using the acetate supplied in the kit. I secured the glazing with tiny amounts of CA applied with a knife tip along the edges from the inside.
Wiring
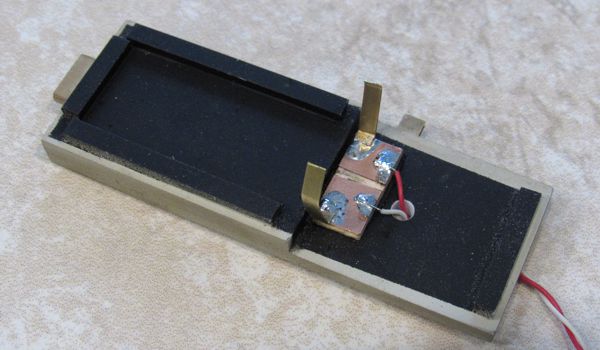
Even having only one light on the building—over the door—still meant making an electrical connector so the building can be removed if needed. Given such a small building, I used a different approach than I normally do: brass fingers (pieces of etched brass fret) mounted to the foundation with a PC board press against two squares of PC board glued to opposite walls. It's a simpler approach that also helps hold the building in place.