Working With Rokuhan Flex Track
Rokuhan has introduced a world-first: flexible roadbed track for Z Scale. This ingenious product offers the best of both worlds. But it's a somewhat unusual product that you'll want to know about before buying.
For one thing, it's a kit. That's right, you put it together yourself. This is actually quite sensible, for two reasons. One, it keeps the cost down; and two, it allows the modeler to assemble it into the desired length, rather than have to modify a pre-defined length.
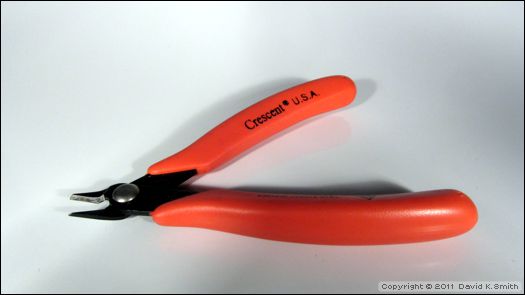
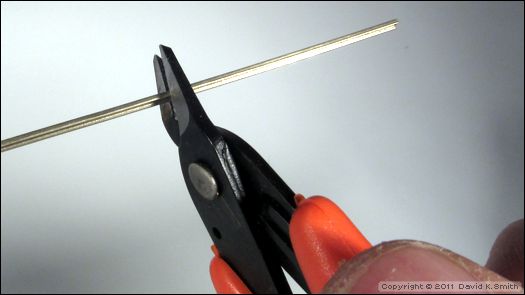
More importantly, in order to work with this track, you will need a tool to cut the rails. There are a number that you can use—diagonal cutter, razor saw, Dremel tool—but the very best one to have is a flush cutter (below). This tool looks like a regular diagonal (wire) cutter, except that the jaws are specially ground to make one side of a cut clean and perfect. If you use an ordinary diagonal cutter, you will then have to file the ends of the cut rails to clean them up. Flush cutters also have the benefit of making quick and easy work of removing the roadbed pieces from the sprues.
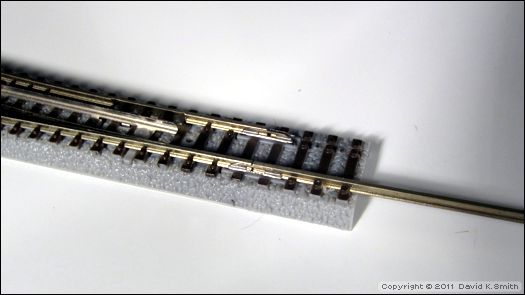
As it comes, the rails are much longer than they need to be. This is done in order to accommodate sharp, continuous curves, since this will force the rails into different lengths. Uncut, the rails are 15-3/4 inches (400mm) long. Using all 42 roadbed pieces (the instructions claim there are two "spares") and leaving the track straight, it measures 13-5/8 inches (346mm) long. Using 40 sections yields the advertised length of 13 inches (330mm). Roadbed segments are approximately 1/4 inch (8mm) long each.
Other things you should know about this track in advance: it won't retain its shape when flexed; it will tend to straighten back out. You can get it to remain in the approximate desired shape by over-bending it, so that as it straightens out, it returns roughly to the shape you want; however, this is not a precise procedure, and only gets you in the ballpark. For this reason, flex track is not recommended for use on "tabletop" layouts were the track is not secured to some kind of base or subroadbed.
Assembly
Instructions are provided in English (below). Note that they indicate the rails should be cut during the assembly process—in other words, you assemble the flex piece to fit. This does give rise to a small problem: if the rail is cut to an arbitrary length, it may result in larger gaps between roadbed sections than necessary. You may want to try an alternative method, described later.
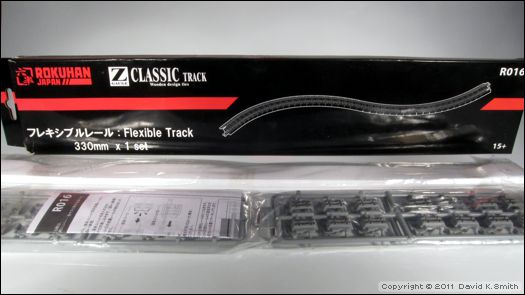
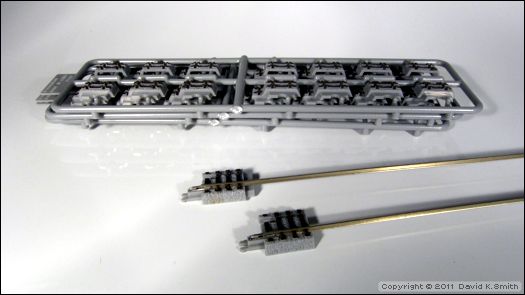
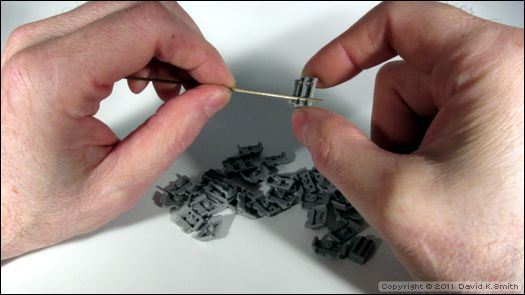
After unpacking the kit (below), you will find a package of roadbed parts, and a package with the rails and end pieces.
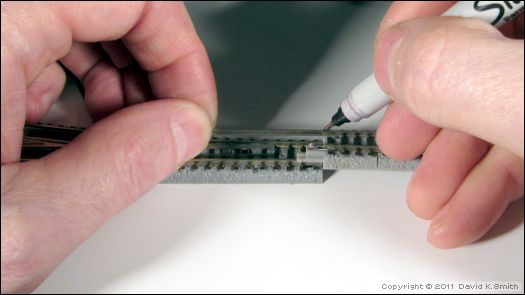
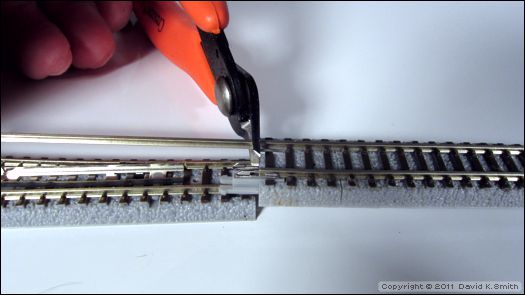
Separate the two rail sections, and connect one of them to the end of the track to which the flex will be mated (above). Curve the rail to meet the end of the other track, and mark the rail to be cut where it aligns with the end of the roadbed (below).
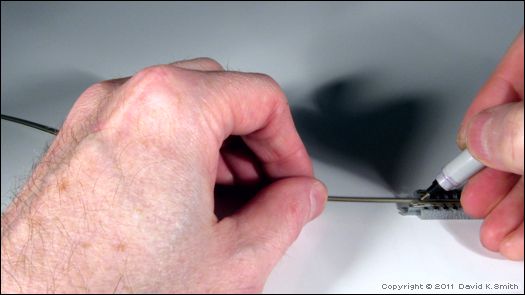
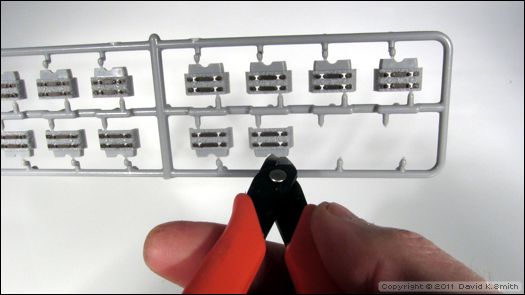
After cutting the rail (above), remove the roadbed pieces from the sprues (below), clean the edges up as needed, and then slide them onto the cut rail.

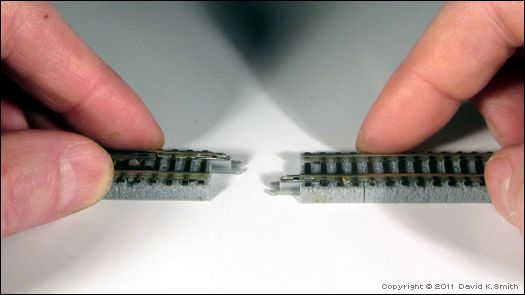
Carefully slide the other rail into the roadbed—this is most easily accomplished with the track placed flat on a smooth work surface (above). Then shape and position the flex in place, and mark the second rail for cutting (below).
After cutting the second rail flush with the roadbed, the track is then ready to install.
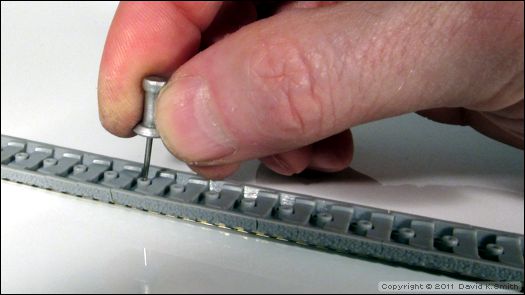
Secure the track every few inches with track nails, screws or some form of adhesive such as caulk or double-sided foam tape. If using nails or screws, open up the mounting holes from beneath using a small awl or a pushpin (below).
Alternative Assembly Method
As an alternative procedure, completely assemble the flex to the approximate final length. Shape and position it on the layout—you may need to use masking tape to hold the track in position—with the ends of the flex aligned over the ends of the tracks to which it will be joined. Be sure all of the roadbed segments are as tightly-packed as possible. Cut the rails at both ends flush with the roadbed while the track is still in place. The track is then ready to install.
Rokuhan has also posted two videos on YouTube showing (briefly) how to work with their flex: Part 1 and Part 2. Have fun working with this most unusual new product!
![]()
![]()
Copyright © 2007-2013 by David K. Smith. All Rights Reserved.