
Installing Daphetid Flats
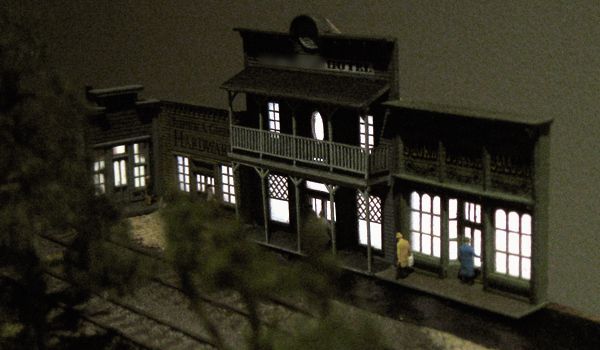
Given that the layout wasn't originally designed to accommodate such a thing, I knew in advance that installing Daphetid Flats wasn't going to be a trivial process. In particular, I had to bury the electroluminescent panel driver circuit underground, which involved quite a bit of very careful cutting and grinding.
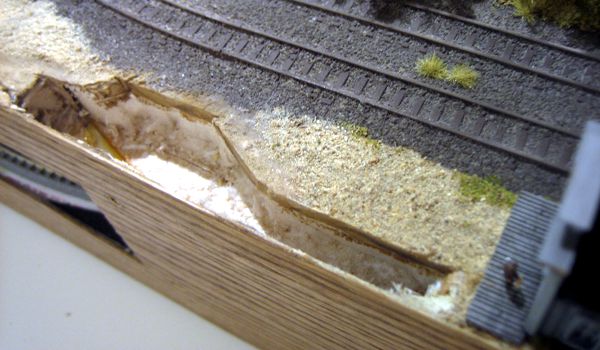
Brute force—in the form of a Dremel tool and a diamond cutting disc—opened up the ground beneath Daphetid (above), and I had enough of the Masonite foundation carved away not only to accommodate the EL electronics, but also to potentially illuminate the Assay Office. Actually, an accident resolved my indecision about lighting it: despite very careful work, I managed to inflict minor damage on the building; the necessary repair work thus included a small EL panel.
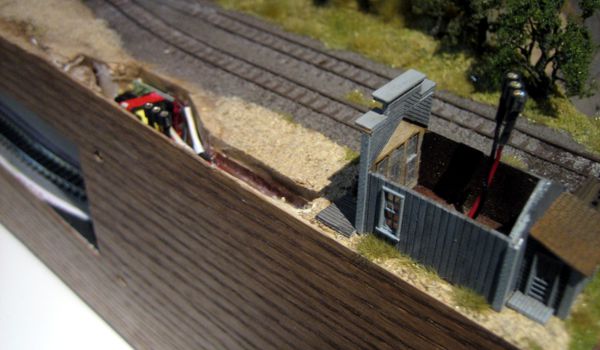
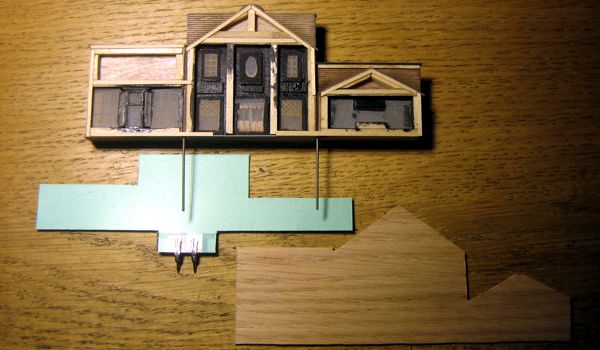
In the midst of all this activity, I determined two significant issues that needed to be resolved: strengthening a very flimsy structure located at the very edge of the layout—and hence readily subject to potential damage—and sealing up the exposed building backs and lighting panel. I addressed the former by firmly bonding a pair of hefty steel rods into the assembly, which were embedded in the layout. As for the latter, I applied a shim border around the perimeter of the flats, and attached a piece of the veneer I'd used to trim the layout edge, which also served to further strengthen everything.
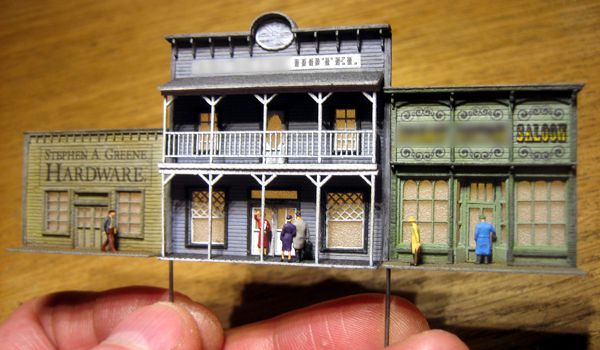
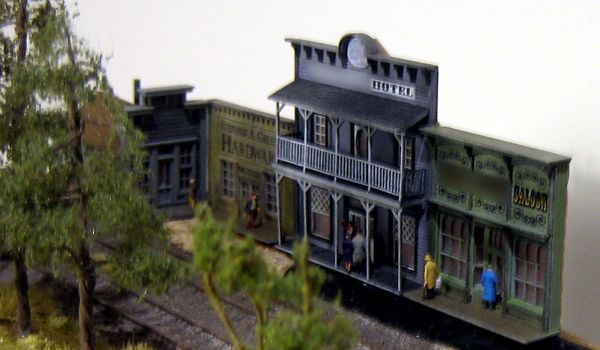
While I was at it, I did a little detail painting to highlight the wonderful woodwork on the end buildings, and I also made a few signs using DIY decal material. The building to the left became Stephen A. Greene Hardware (satisfying my penchant for naming things after my adopted grandfather); in the center is the Daphetid Hotel; and to the right is the Squaw Bottom Saloon, inspired by the town of the same name on the G&D III. To finish off the project, I added a number of Preiser figures.
Incidentally, the color effect of the saloon sign was achieved by using two sets of the same black decals. After applying the first set of decals, I hand-painted yellow paint over the letters with a 10/0 brush; then I applied the second set of decals, this one with the filigrees cut off, since they weren't needed. Liberal applications of Solvaset helped get the decals to settle into the wooden surface better. This trick only works where the extra thickness of two decals plus paint will go unnoticed—for instance, it would not be suitable for freight car sides.
Since a fair bit of the work had to be done in situ on the layout, and I desperately needed to stay off my feet, I removed the layout from the chest-height work stand on which it normally sits, and placed it on a folding table next to my workbench. It certainly highlights one of the many benefits of a small layout!