
Final Trestle Assembly, Part 1
In our last episode, I'd verified the drawings I'd made for the bents and bent braces by printing images of them on paper and taping them together. Satisfied that the drawings would do the job, I sent them off to be lasered, and busied myself with other things until the parts arrived. You could tell without doubt that I was ready for them in a major way, since I had the bents stained and assembled and the half-finished trestle sitting in place on the layout within about ninety minutes of their arrival in the mail!
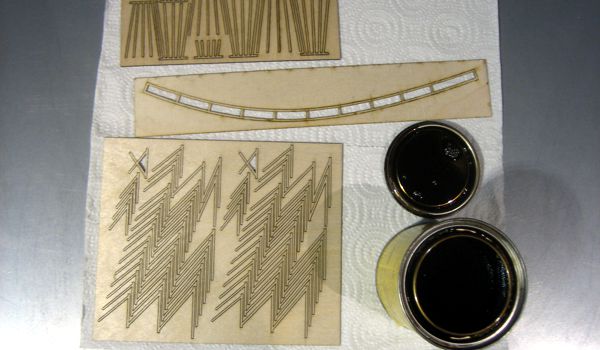
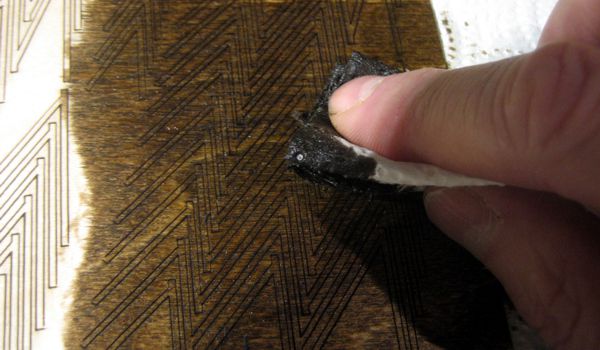
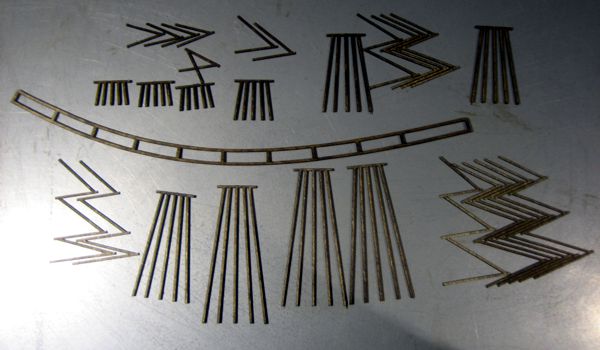
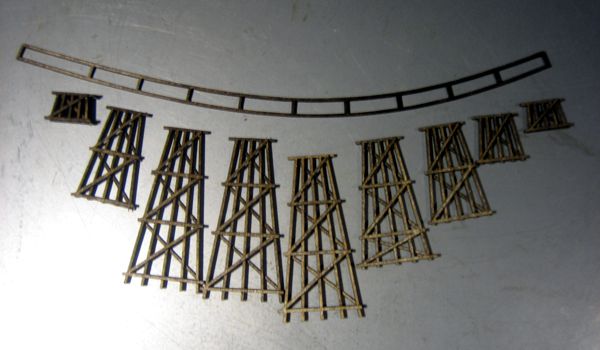
Right after removing them from the envelope, I cracked open my can of dark walnut stain and applied the stain to the frets with a paper towel. Next, I cut the parts free of the frets, and began assembling the bents using brush-on CA. When the bents were done, I sanded the tops flat with a fingernail file, and bonded them to the one-piece stringer part.
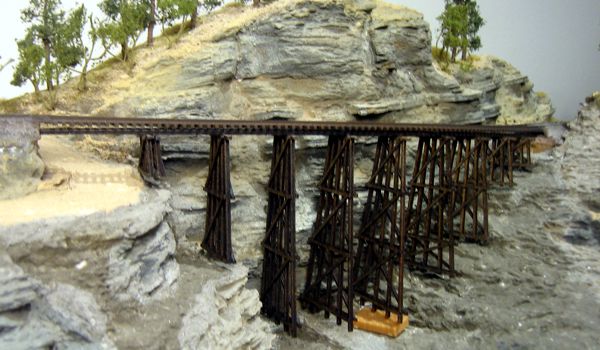
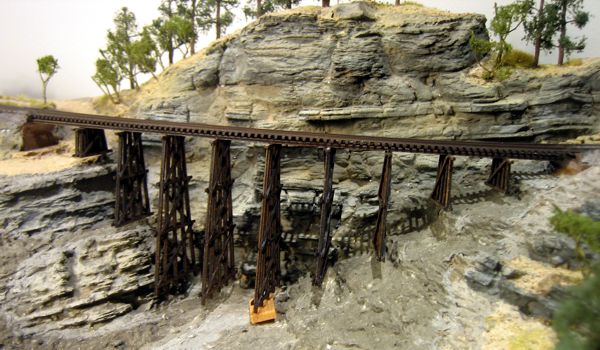
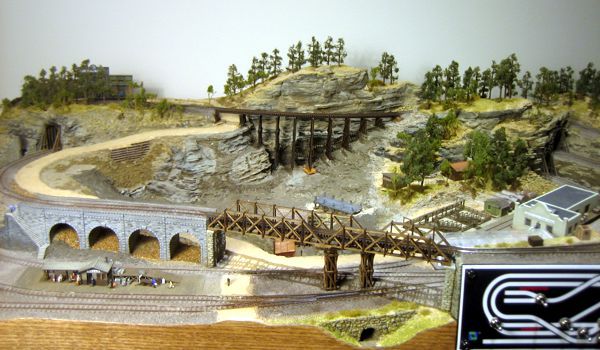
At this point the trestle was ready for posing on the layout. What hit me as soon as I saw it in place is that the bridge is on a slight grade, so the bents will need to be bent a bit to make them vertical before cutting and installing the girts and side braces. After this, I'll make the footings, and that will lead to the final step, building up the terrain around the footings. Can't wait!