
The Only Constant
Together with the words "is change," the title presents an axiom that not only describes my modeling style (as most regular readers know all too well), but that of John Allen as well, based on the history of the original Gorre & Daphetid. It should therefore come as little surprise that I've made some changes to the layout. They're not earthshaking, by any means (nothing that rates a "Stop Press!" headline), and they remain well within the realm of the original Gorre & Daphetid—if anything, they bring the layout a little closer to its earlier form.
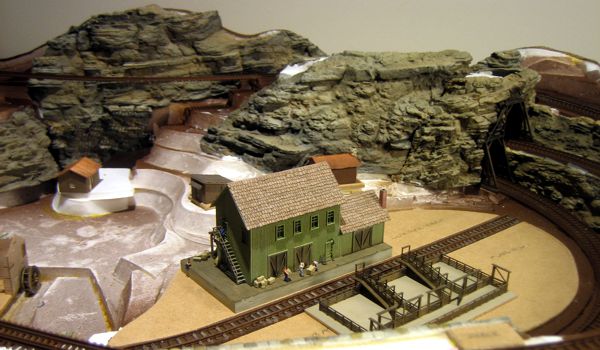
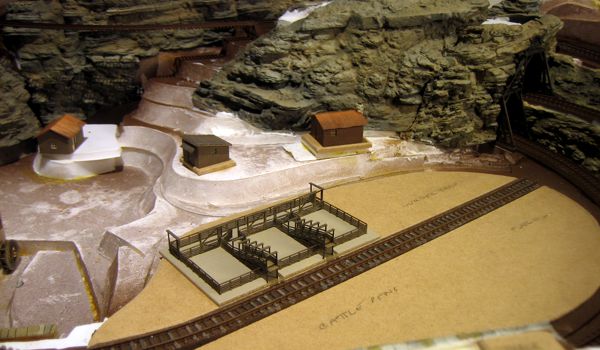
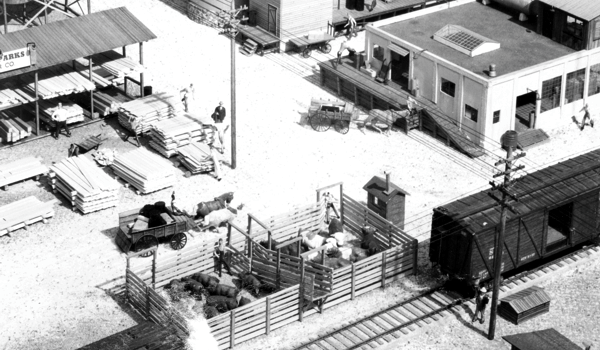
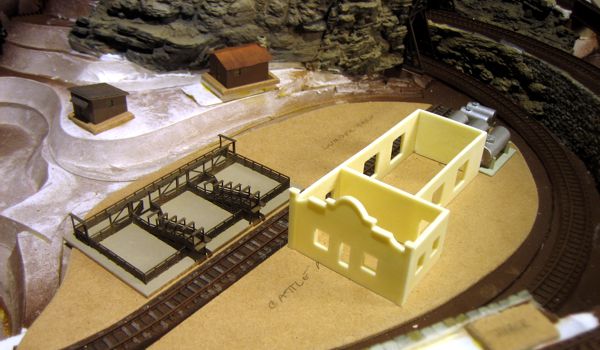
The principal change was the loss of the anonymous industry. After rendering the scenery behind it in rubber rock, I came to the inescapable conclusion that the building was simply too large—more specifically, too tall—making the rugged hillside look instead like a lumpy anthill. It was a difficult decision to make, as I really liked the way the kit turned out, but once I replaced it with the cattle pens (in one of the many locations they appeared on the original, below), the whole scene improved considerably.
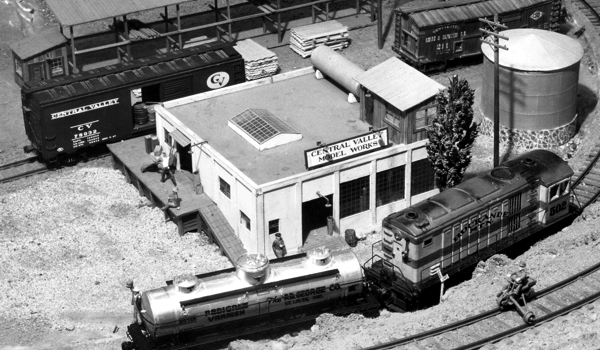
With the cattle pens relocated, their former spot was now a patch of empty real estate. What to put there? Oddly enough, I resurrected a very early idea: Central Valley Model Works.
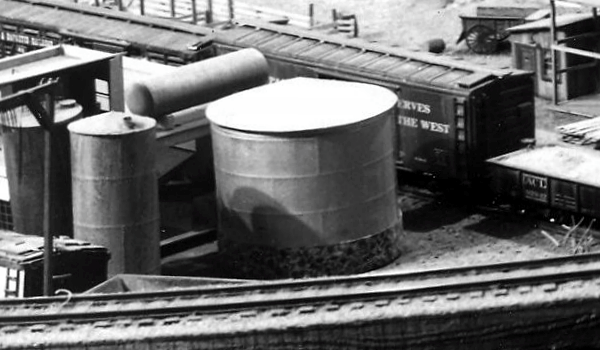
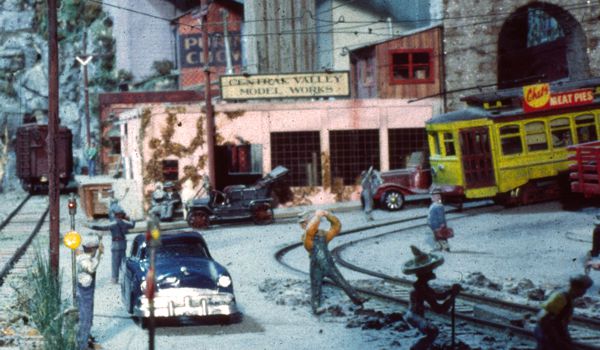
Shortly into the project, I'd rejected the notion because I didn't like the structure John had built. Strange thing about that structure—in some photographs, it's rotated 90 degrees. I thought John was just indecisive about which way it should face. But then I found a curious image that led me to suspect the building had no back; it appears as though it was originally a background model, meant to be placed against a backdrop. In the images below, it's clearer that the building is unfinished; it looks like John placed a cardboard container across the back just to fill in the non-existent wall in one image, and arranged a bunch of vertical storage tanks in front of it in the other. Curious, no?
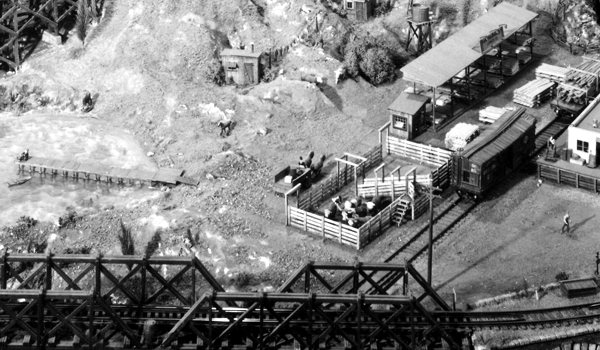
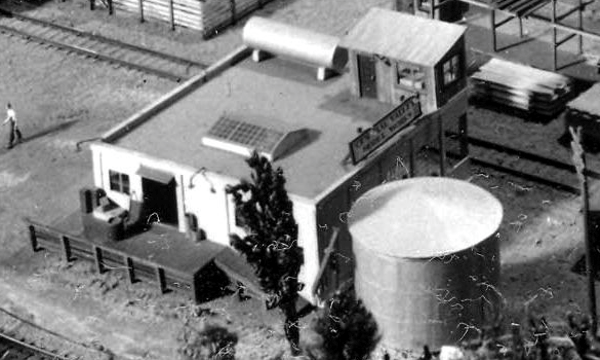
While I never found an explanation for the "backless building," I did learn that many of the structures on the original G&D were built before the layout was even conceived, and they all survived through to the end of Version III. Along with many of the familiar buildings of the G&D, the factory appears in several very early photographs John took to demonstrate principals of model photography, one of which is shown below.
Regardless of the building's origins, I'd always felt the factory was architecturally out of place on the G&D. And I had a better alternative, which I'd considered using back at the beginning of the project; it has a strong older Southwestern style appropriate for the layout. It's Scholz Transfer (#20-152) by Randy Brown. Just goes to show one's initial gut instincts are often the best—I could have saved myself many false starts had I gone with it.
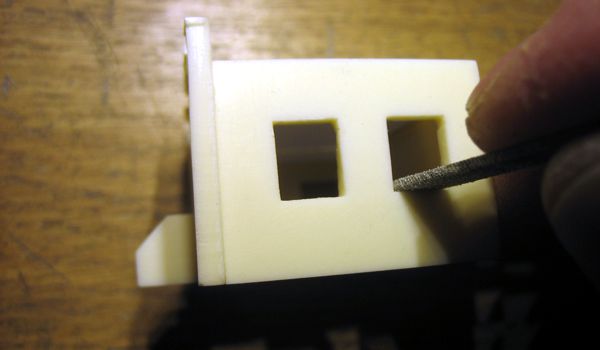
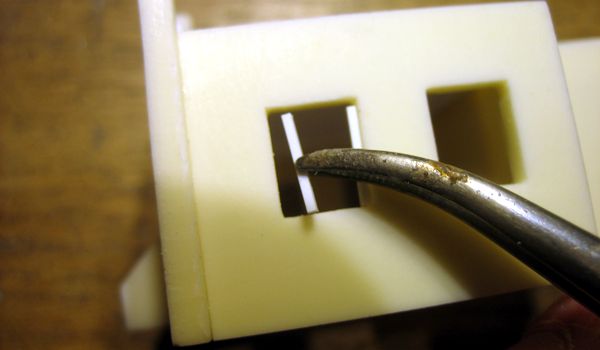
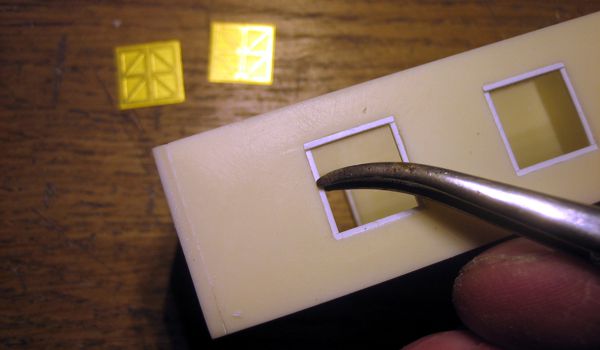
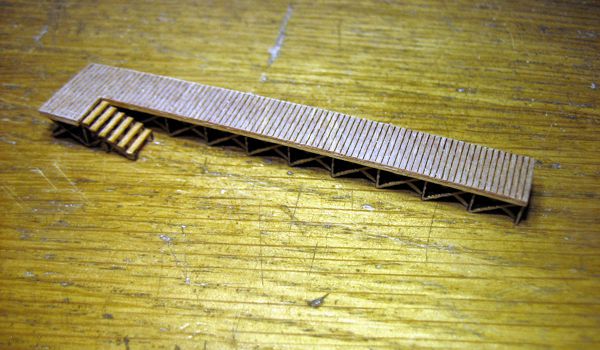
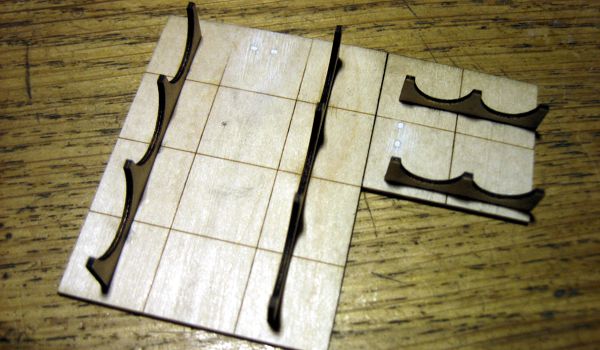
It's a seriously simple little kit that goes together in a major hurry... except that, as I'm wont to do, I made a few modifications—all subtle, for a change, but nevertheless labor-intensive. For one, I replaced the windows and doors with etched brass parts, which pushed assembly time literally from minutes to hours, as every opening had to be resized: windows were filed out larger, and doors were filled in with styrene strip stock to be smaller. As is usually the case, the sweat equity paid off, since small fine details can make an ordinary kit really pop. I also made a new freight dock from lasered wood leftovers. The freight dock was my only serious disappointment about the kit—it's not even mentioned in the instructions!
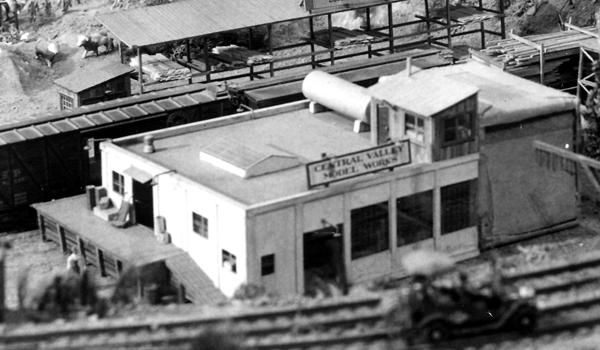
When I dropped the partially-finished kit in place on the layout (above), I immediately felt that I'd made the right decision. Plus, it solved a small conundrum about the storage tanks behind it. For a long time I'd wondered if the storage tanks were part of the factory, or if they were a separate fuel oil business. Based on the earlier images of the G&D, I suspected they were supposed to be part of the factory.
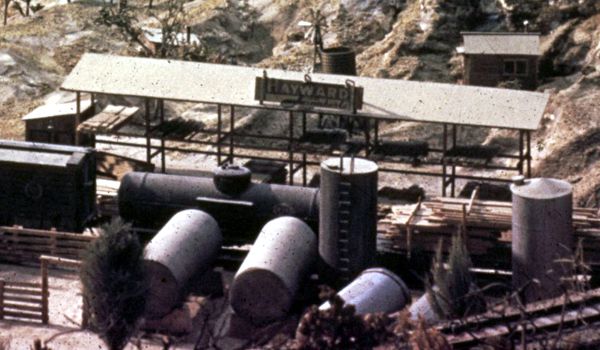
But John moved the factory to Great Divide on Version III, and for some time the tanks remained sitting beside the cattle pens in various arrangements; under these circumstances, they'd surely represent a fuel oil business. At any rate, the problem was solved for me when I placed the factory on the layout, as it was a bit longer than I'd anticipated—but not in a bad way—and it butted right up against the tanks. So they became part of the factory.
The tank set came from the BAZ Models A.J. Slick kit. I cut and spliced the base part so that the smaller tanks fit the available space (above). Then I sprayed the base Light Aircraft Gray (my favorite concrete color), and the tanks flat silver, followed by some light mists of ruddy primer for a subtle rusting effect.
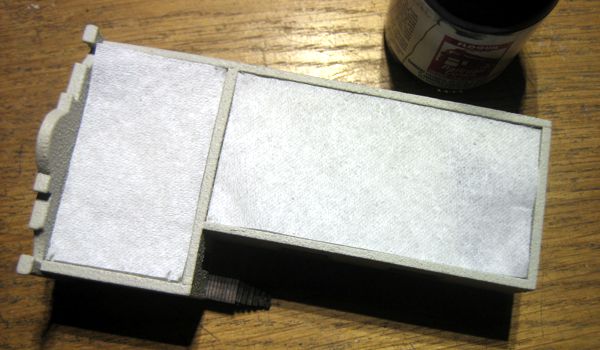
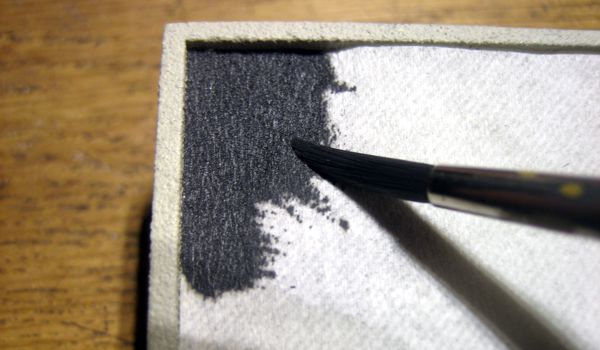
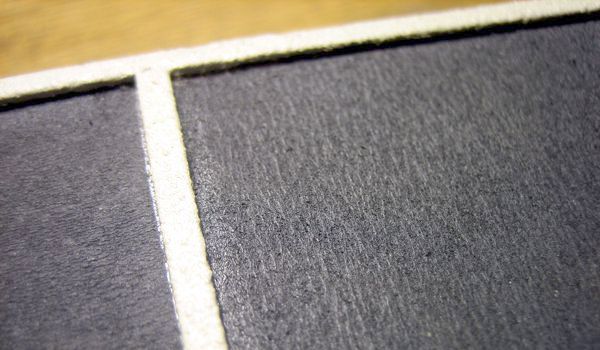
Finishing the factory was fun in that I had a chance to experiment with a stucco effect. After priming the shell and masking off the roof, I applied a series of texture paints, starting with Rust-Oleum Multicolor Texture, followed by Valspar Suede, and ending with a few light coats of Tamiya Insignia White for the final color. After removing the masking, I made a tarpaper effect using one of my favorite tricks: placing a layer of toilet paper on the roof and brushing on a thick coat of Weathered Black. Finally, I sprayed the doors and windows Tamiya Neutral Grey and installed them, along with the new loading dock. And I made a sign on the computer that I printed on photo paper.
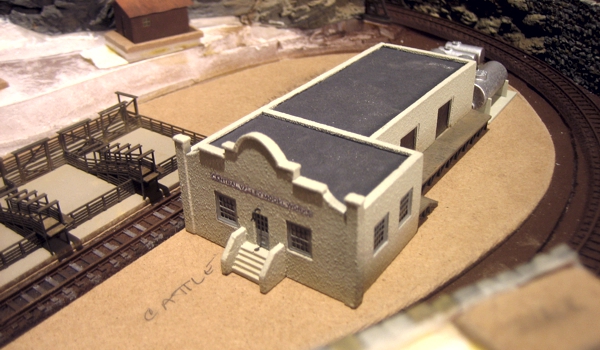
There are some bits and pieces still to add—roof details such as a skylight and some vents, and maybe a little plumbing for the tanks out back—but the Central Valley Model Works is essentially done, and I'm quite pleased with how it came out. If anyone from CVMW ever stumbles across this blog, I hope they like it as well!