
Breaking Ground
What's considered breaking ground in the world of model railroading? My thought is starting the benchwork. In which case, ground has officially been broken for the G&D in Z. That said, it's anything but conventional benchwork; in fact, it's just a sheet of Gatorfoam.
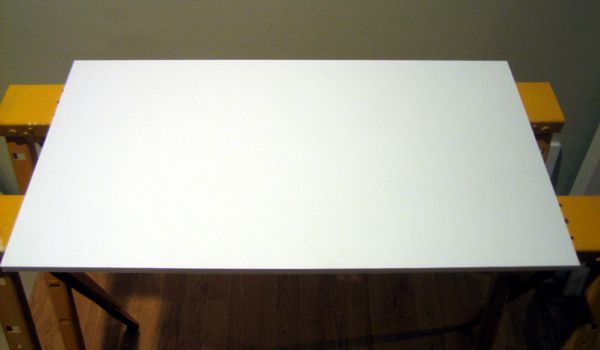
This being a modern layout, I'll be using modern materials and methods. I've had years of good experience using Gatorfoam, so I'm keen to the many advantages it brings to compact layout-building: it's very lightweight, very rigid, and also water resistant, so it won't easily warp. For a layout of this size, a single piece of half-inch thick Gatorfoam is sufficient for a base.
And so, in a matter of minutes—literally—the basic benchwork (if one could call it that) was finished. I merely measured out a 17 by 31 inch rectangle on a 3 by 4 foot sheet, cut through half of it with a sharp knife, and then snapped it like styrene or sheetrock. Not much to look at, but there it is:
The remainder of the Gatorfoam board had enough material for two more pieces the same size, which was perfect, as I'd be using it for the subroadbed as well. I continued without pause into subroadbed construction—the first step of which was to tape the full-size plan to the base.
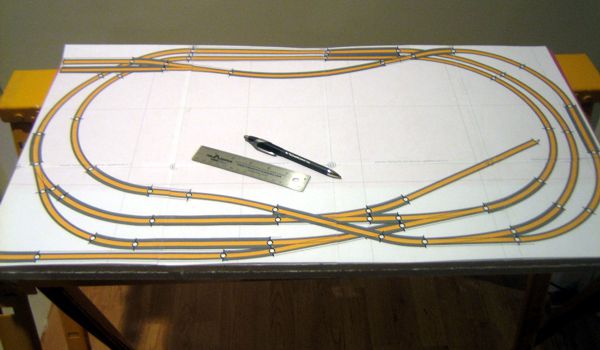
Next, I slipped a sheet of tracing paper under it. The material I use comes in a roll, so I could cover the whole base with it.
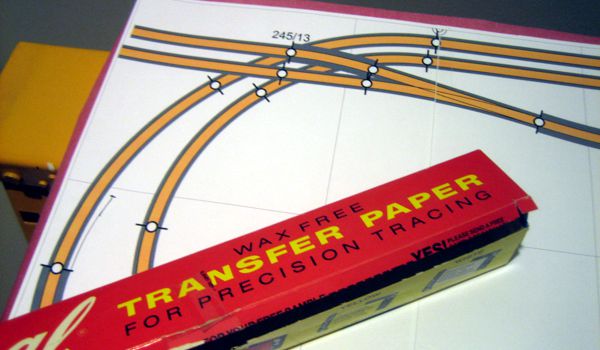
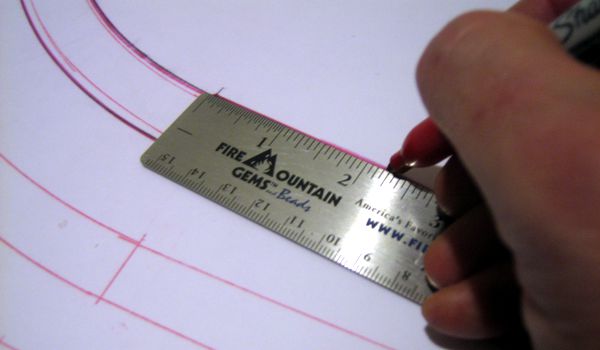
I traced over all of the track parts with a ballpoint pen in order to create a complete copy of the whole plan, detailing all of the track parts.
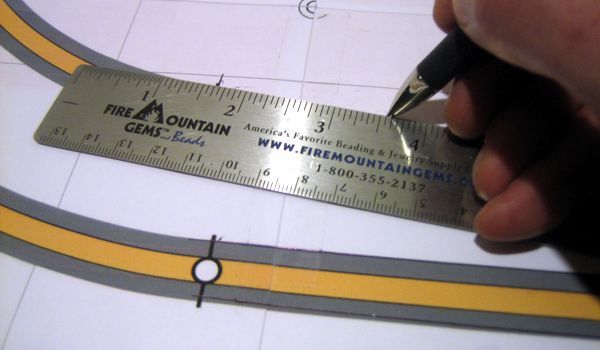
When I removed the plan and tracing paper, I studied the drawing to see where I needed to make cuts, and then marked them out with a pencil. Once I was satisfied with the cutting plan, I traced over the pencil lines with a Sharpie so that the cut lines stood out from all of the rest.
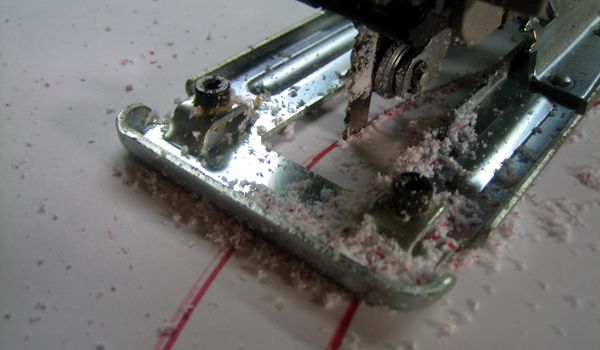
The cookie-cutter cutting was accomplished with an electric saber saw fitted with a hollow-ground blade so as to produce the cleanest cuts possible. Even with the saw set to its lowest speed, it rips through the Gatorfoam like greased lightning, and in about twenty minutes I had all of the cutting done.
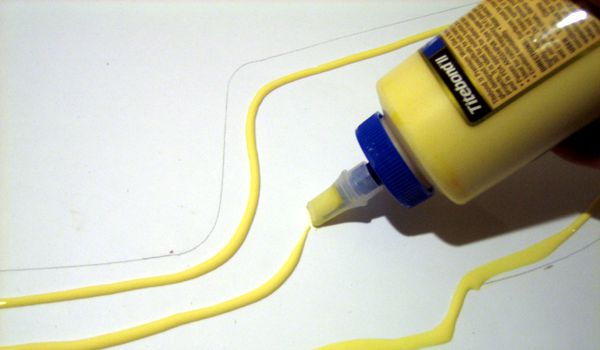
In what seemed like no time at all, I was ready to start assembling the subroadbed. The first step was to glue the main subroadbed part to the base. I marked out the areas where the subroadbed was level at zero height, and applied carpenter's glue.
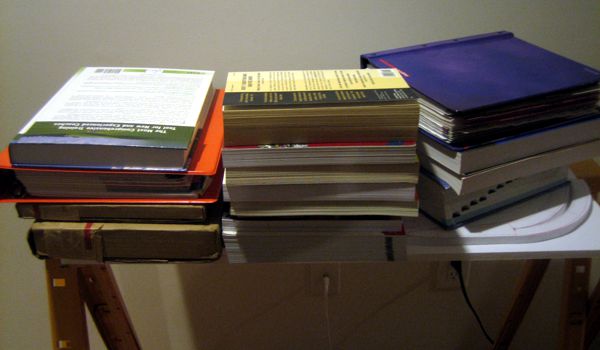
After dropping the subroadbed in place, I piled on half a library worth of books to create a good solid bond. At this point, construction slowed down considerably in order to allow the glue to dry.
But I had more than enough other things to do in the meantime. For one, I had to make a pair of small separate subroadbed pieces for the branchline; these were cut from the large scrap left over from the middle of the main subroadbed part.
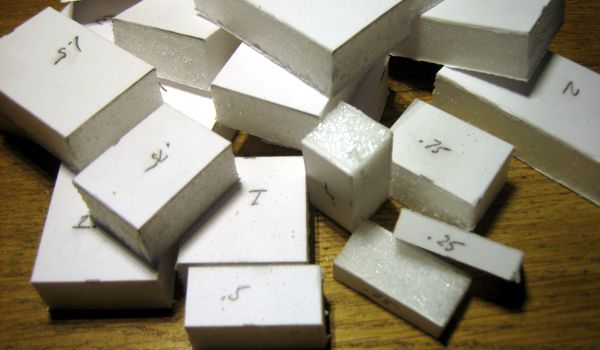
Then I set about making risers. I began by cutting a long, 1-inch wide strip of Gatorfoam from a leftover piece, marking it for lengths from .25 to 3 inches in quarter-inch increments, and then slicing the strip apart with a razor saw and miter box.
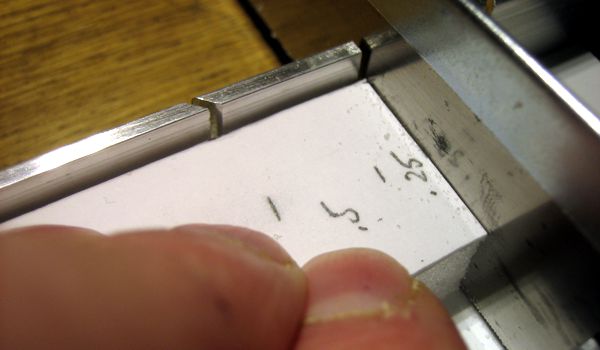
The result was a set of very precise risers to create the grades.
The glue was still drying, so I wrote this blog entry, and sized and cropped all of photos. Soon enough, the layout would begin to take shape, as I glued risers into place. I must say it was quite a thrill seeing the layout spring into full 3D; even with a vivid imagination, I'll sometimes find it difficult to get an accurate sense of a layout's surface contours while designing it in 2D.
Thus, in the span of less than a day, the benchwork and subroadbed for the Z Scale Gorre & Daphetid were complete. I rather doubt John Allen was so fortunate when building his original layout from lumber and plywood sixty-six years ago, when he broke ground for what was to become a legend.