
The Road to Daphetid
The one and only road on the Gorre & Daphetid is the little dirt road that runs from the Gorre station to the Daphetid station. One might think that it would be a simple matter of working it into the terrain as it's being built up; however, it's actually a much more involved process.
The challenge is keeping the road on an even keel—that is, preventing sudden kinks or grade changes. Based on considerable experience, these problems can emerge all too easily if one attempts to "eyeball" the road's shape on the fly. The solution is to create a substrate for the road before adding any terrain material to the area. In addition to being a guide for its construction, it also allows one to study the road's path and ensure it's plausibility before rendering it in Sculptamold.

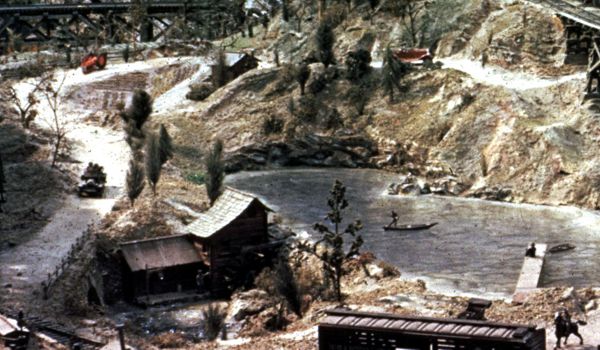
It's not too far removed from what John Allen did on his original layout. He was using a hardshell scenery technique, and he worked in a layer of (presumably) cardstock to establish the road surface, as seen above. For me, the first step was to make a paper template. It may not be evident in the photo below, but the paper template endured considerable cutting and pasting until it finally fit properly.
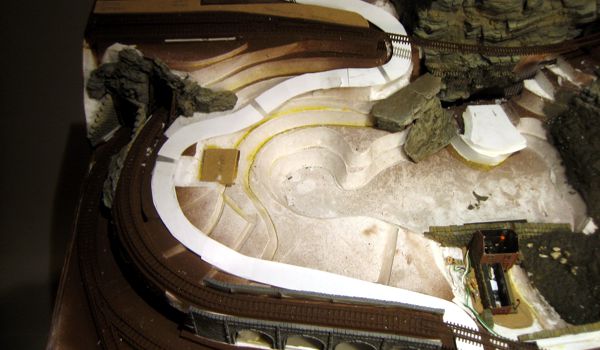
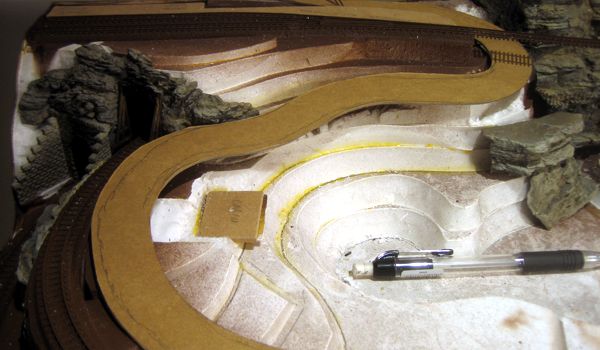
I then transferred the paper template shape to a piece of heavy cardstock. I chose this material as it had just the right balance of rigidity and flexibility needed to follow the grade changes (I'd already tried Foamcore—bad choice). With a sharp knife, I cut out the road slightly too wide so that I could fine-tune its geometry without having to cut and paste corrections, or cut a new one. After placing the cardstock substrate in place, I marked it for trimming (below), and made the final cuts.
Next came the process of supporting the road so that it would maintain the proper grade changes as well as remain level side-to-side. This involved cutting, fitting and installing a number of Foamcore fillers. The cardstock road had to be removed and replaced with each addition, resulting in a fairly protracted iterative process. Then the cardstock road was then installed on the layout using a healthy layer of Loctite PowerGrab.
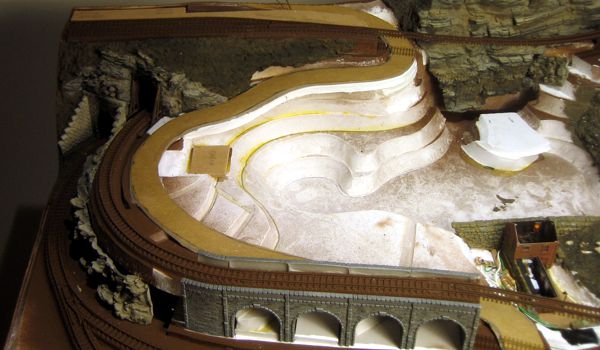
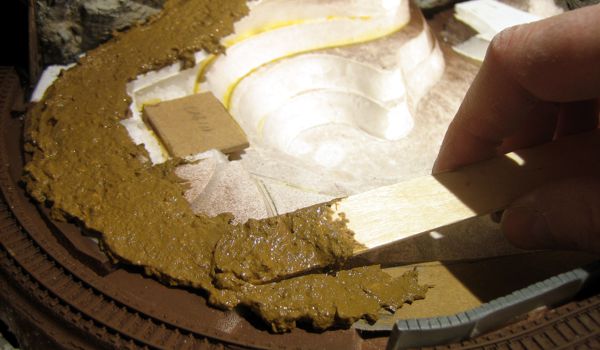
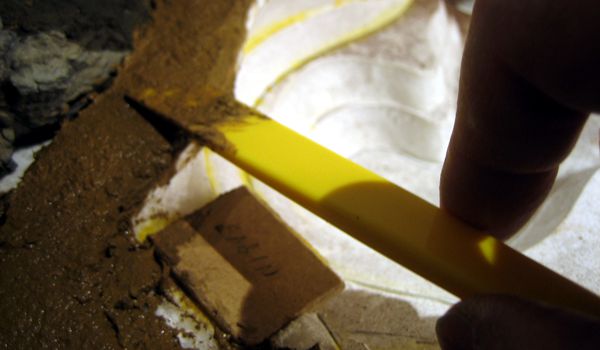
When the PowerGrab had dried, I mixed up a batch of Sculptamold and applied a roughly one-eighth-inch thick layer along the length of cardstock. I also applied Sculptamold to the areas of the industrial siding that required road access. The next hour or so was spent carefully shaping the Sculptamold with a clay-working tool (a small plastic spatula, available at most craft stores).
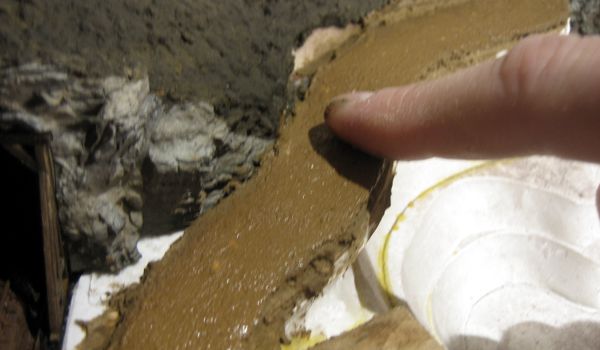
The final road-shaping step came a few hours later, after the Sculptamold had started to get good and firm. I smoothed the surface with a wet finger—the best tool I've found for this particular task. In a few days, when everything is fully dried, I'll enhance the road's color and texture with a coat of craft paint and very fine dirt. Remember, the color of wet Sculptamold isn't the final color; it will dry considerably lighter. Plus, it's colored mostly so that any damage or areas that aren't 100% covered don't show through as bright white.
Original Gorre & Daphetid images courtesy of Peter T. Prunka.