
A New Water Tower, Part 2
I'd thought the bottom half was the hard part for this project; little did I know the challenges that lay ahead of me for the half I was going to build more or less per the kit. One of the two major challenges was due to some of the oddities in the kit's design; the other was due entirely due to my decision to change the design.
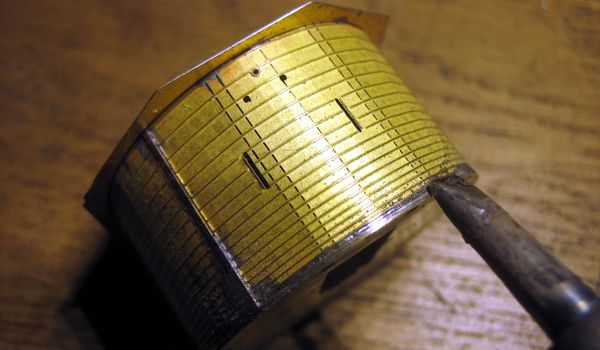
Ironically the caption "Easybrass" appears on the instructions; I wouldn't call the kit seriously difficult, but "easy" it's not. Aside from my personal opinion that the tank's supporting structure appeared to be inadequate, the way the tank part itself was made defies my understanding. It has irregularly-spaced board etchings on the back; consequently it was extremely difficult to bend it into a smooth curve, as the uneven etch line spacing caused kinks, no matter how carefully I worked.
Perhaps I just didn't have the skill or temperament to deal with this; regardless, the uneven board spacing also goes against how the tanks I've studied are made—the boards are usually all the same width. Furthermore, the board lines create slots that result in a see-through effect; makes it hard to visualize water being inside when it looks like a sieve. (And I'm kicking myself for not installing a liner—again!)
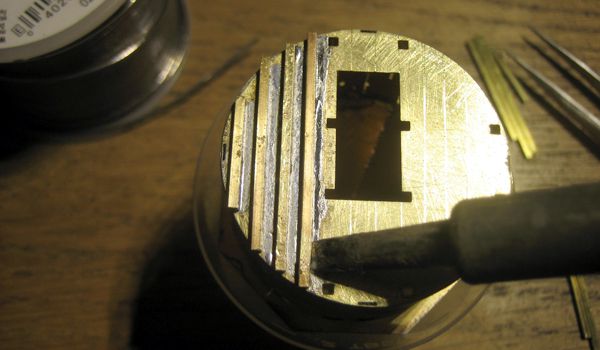
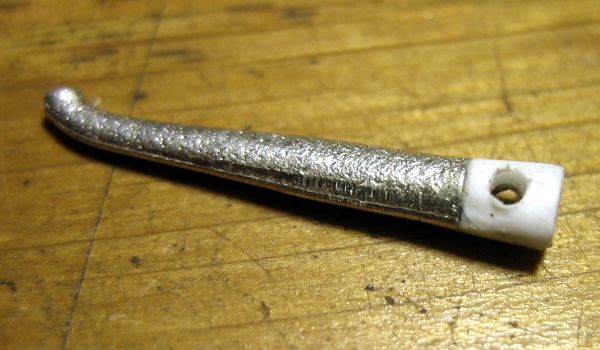
Once I'd wrestled the tank into some semblance of a circle, I was desperate for some way to maintain its shape. The roof part at least helped—somewhat; the opening was a bit oversize. But the bottom part offered nothing to help maintain the shape, having only four slots for four tiny tabs. Here's where I took matters into my own hands and redesigned the bottom part: first, I cut it into a circle matching the tank diameter; then I painstakingly soldered the edge of the tank to the edge of the bottom part, a millimeter at a time (above). Finally, I filed the edges smooth—at least as much as I could.
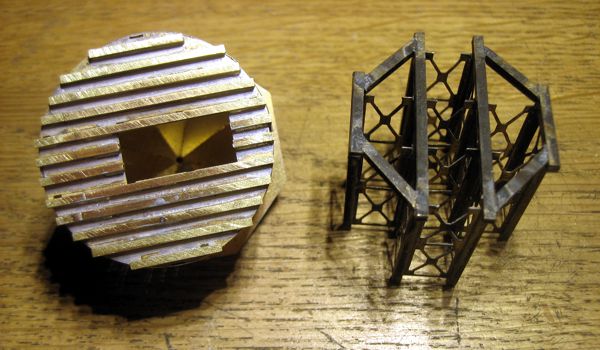
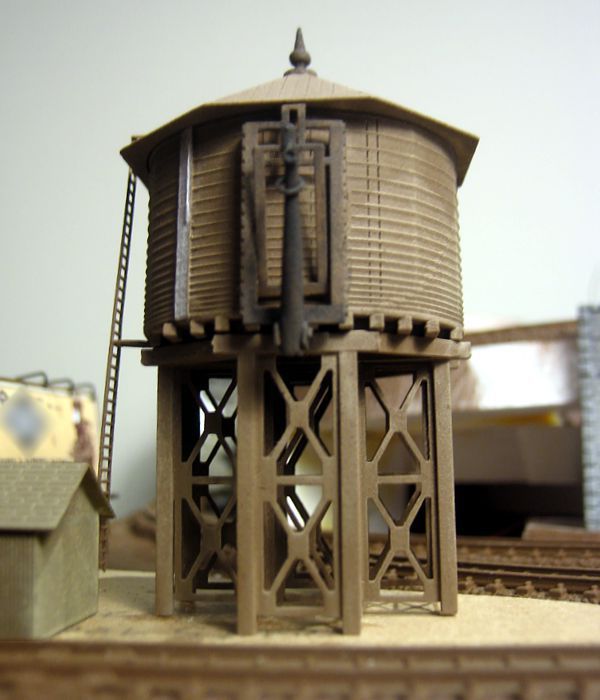
The redesign of the bottom part fit right into my plan to improve the appearance of the tank support. I soldered the kit's original legs (which I'd replaced with heavier parts) across the bottom of the assembled tank (above), which mated perfectly with the leg assembly. Now the tank looks as though it's properly supported! (I left the frost box opening open so that I could solder things to the tank from inside—the opening won't be visible once everything is assembled.)
Another oddity about this kit was the spout, which had a strange mounting arrangement—the end is cut in half, so it sits offset to one side within the pivot. There's no reason for this design that I can conjure; however, the spout for the Micro-Trains water tower has precisely the same design—but for that kit it makes sense because of the asymmetrical design of the support. It all left me scratching my head. Anyway, I filled in the missing half of the spout with a chunk of styrene, filed it to shape and drilled it out. Now it looks and fits properly.
As an aside, I found it curious that the entire spout structure is identical to that of the smaller water tank. The latter kit is an eighteenth-century design, whereas this beast is presumably newer; one would think the design would be different. I was tempted to fabricate something myself based on any number of reference images at hand, but by this point I just wanted the thing done.
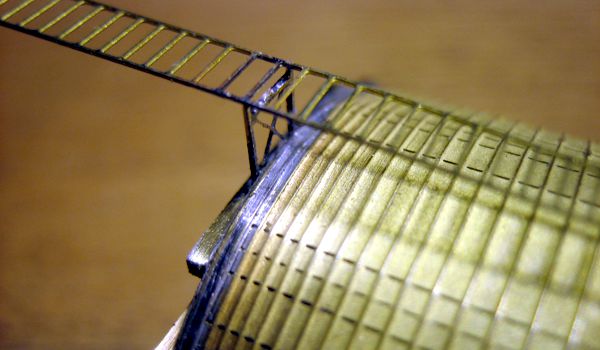
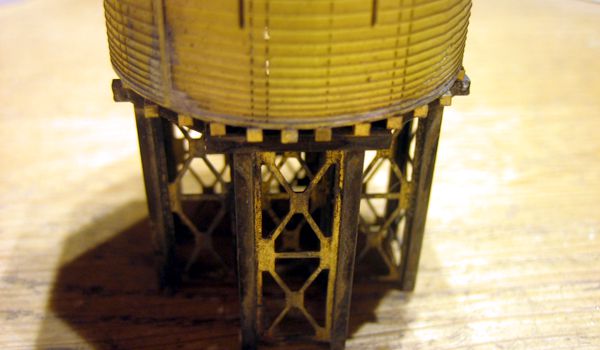
To wrap things up, I added a ladder brace (made from a piece of N Scale scaffolding, above) to the bottom edge of the tank, and I used the finial from the smaller water tower, which looked more at home on its bigger brother. Incidentally, everything except the spout and finial was soldered. I've always preferred soldering metal kits over gluing them with CA. For one thing, it's much stronger. For another, if you screw up the paint job, you can strip the whole model in an acetone bath and paint it again; if it was glued, this wouldn't be an option.
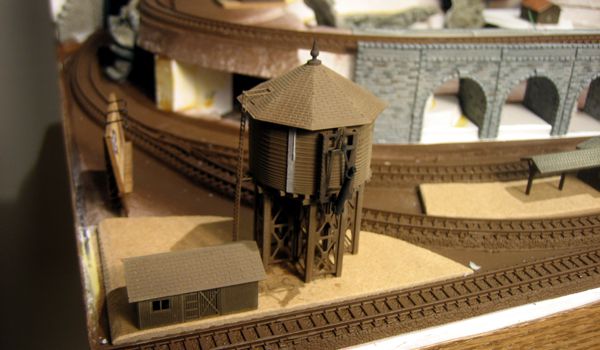
At long last it was time for finishing. I left the tank and leg assemblies separate to make painting easier, which comprised several light coats of primer, followed by a few light coats of ruddy brown, and finally some powdered chalk. The spout and associated parts got an India ink wash. The two main parts were bonded together with CA to complete the project.
Don't get me wrong, it's a handsome kit, and I'm certain that very few modelers are as fussy about appearance as yours truly. All the same, I have to wonder about some of the things that were done. Surely there's some room for improvement; I hope the manufacturer takes my criticism in the constructive spirit in which it's offered.