
Installing the Truss Bridge
It was by design that the truss bridge, although completed relatively early in the project, wasn't installed until much later: I wanted to avoid as much as possible any chances of damaging it. With the industrial siding pretty much wrapped up, and the surrounding scenery well under way, I felt it was time to set the layout's centerpiece in place. Not to mention that it was holding up the last of the ballasting.
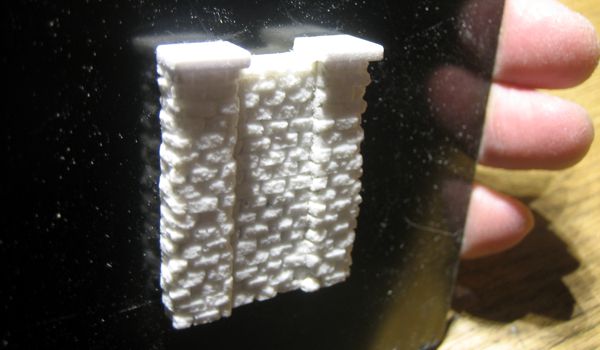
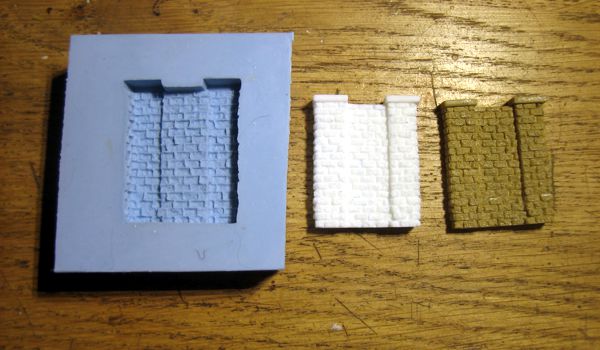
Installation required three ingredients: two stone abutments and one timber center pier. I fabricated one abutment from stone castings I'd created for this layout, then made a mold of it. This was less work than fabricating two abutments owing to the precise fitting of all of the mitered corners. Yet even though I only had to make one, it involved hours of work—that giant sucking sound you hear is my time going into this project. The abutment had to be asymmetrical, and by a stroke of good fortune, the asymmetry was the same for both ends, thus the casting process was a perfect solution.
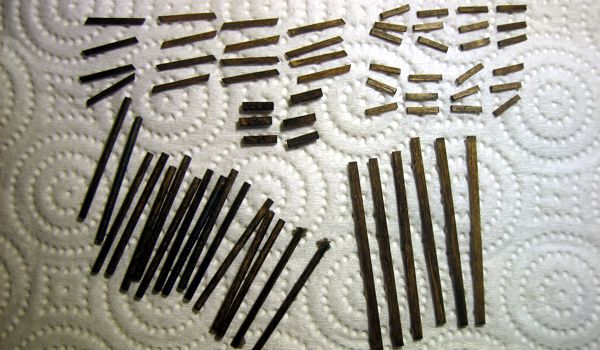
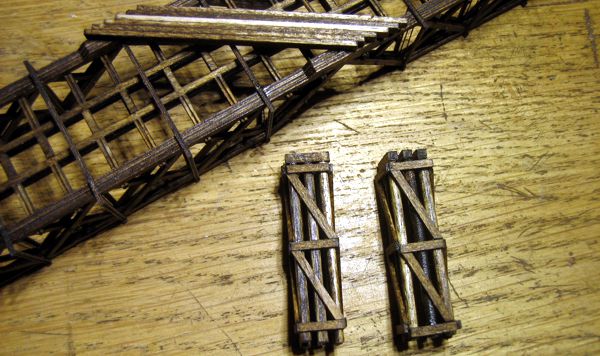
While the abutment mold was setting, I made the center pier. Due to several factors—including differences in track geometry, differences in grade separation, and others—I determined that it would look better as two hefty timber supports, rather than three spindly ones, as John Allen had designed it. This saved a little construction time, but not much—the redesigned assembly still comprised over sixty wooden parts. After staining them with dark walnut stain, I assembled them using thick CA.
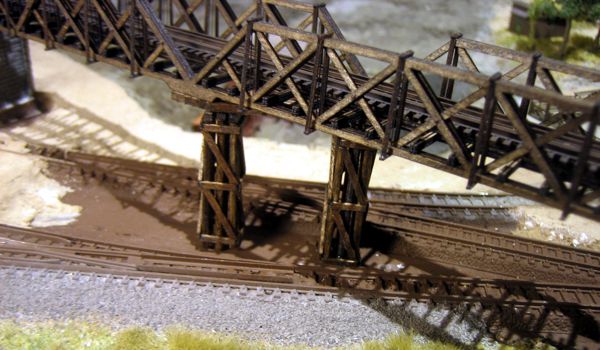
At this point, the bridge itself had to be installed. I'd run out of excuses to not permanently bond it to the track, so I took a deep breath, applied two beads of thick CA to the bridge, and ever-so-carefully placed it against the underside of the flex. Once the bridge was secure, I installed the center pier and ballasted the surrounding area. Even after having adjusted the track alignment so the center pier would fit better, I still had to fudge its position; fortunately, its odd placement isn't all that noticeable—you must really scrutinize it carefully in order to tell something's askew.
By this time the two abutment castings were ready to be trimmed, painted and installed. Once again I had to do a fair bit of fudging to get everything to fit without causing clearance problems, but the liberties I took are only visible from the back of the layout. Granted, I designed the layout with 360-degree viewing in mind, but with the bridge located along the front, the many flaws are far enough away that they're not painfully obvious.

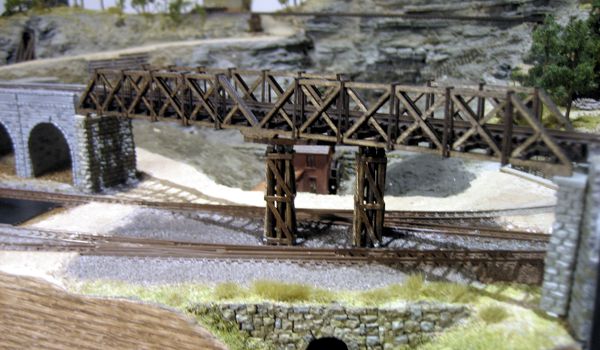

With the truss bridge installed at last, I think the layout really screams "Gorre & Daphetid"! Now it's time to tackle the trestle...