
The Railwire January 2018 Modeling Challenge: Back Walls & Additions

When it came time to do the back walls of the complex, I did a quick field trip to gather some additional intel. Conditions were less than ideal for a detailed study, but I got the general drift, and determined that a combination of selective compression and some creative license was the best approach.
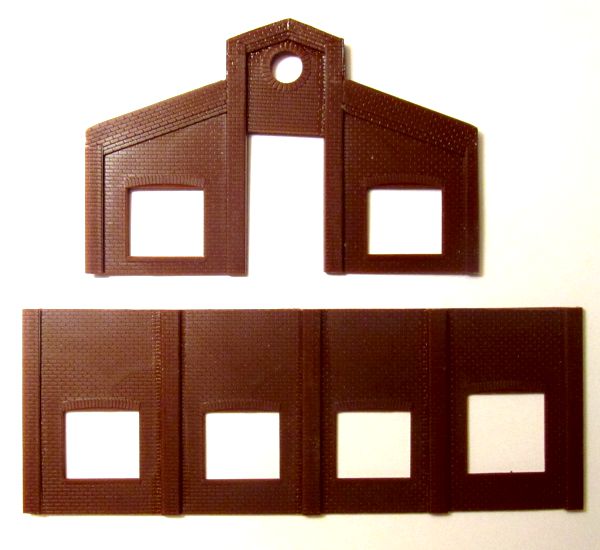
I started by assembling the back wall of the second extension, which, from what I could tell, more or less mirrored the front side, but with all of the openings filled in. I was running low on Vulcan kit parts, so I made use of a lot of leftovers and recycled scraps, but it got the job done—all of the nonsense along the top would be going away.
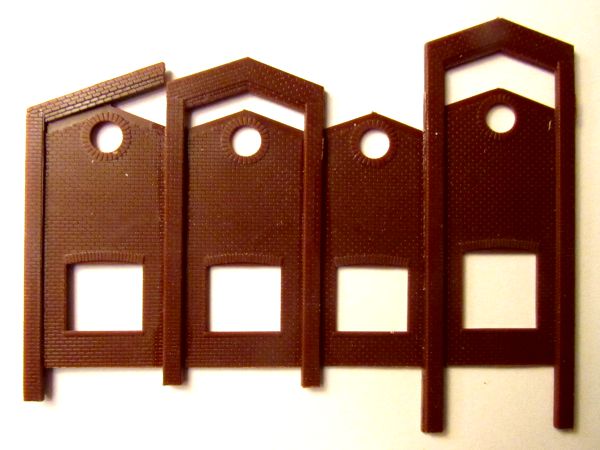
Next, I made the end wall that faces the main building. Only the very tippity-top will be visible, but I still had to make most of the wall to provide support for the roof; again, it's not neat, but it doesn't need to be. Beneath that is the finished side wall, less the window fillers.
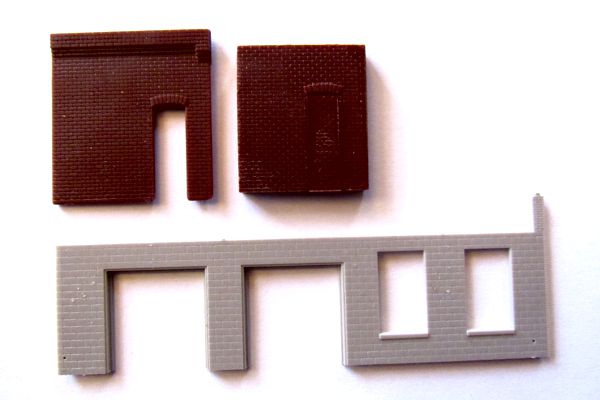
I made the single-story addition on the back from the State Line Farm Supply kit walls, with end walls cobbled together from scraps of brick to more or less emulate the odd detailing of the actual building.
This part of the building had a full height chimney, which I made from the end pilasters of the Allied Rail Rebuilders side walls. I'd slice off four of them at 45 degrees, and since the ends were already 45 degrees, four of them bonded together made a perfect chimney.
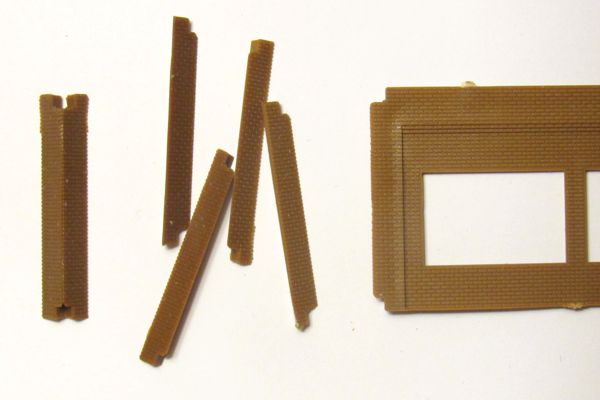
Curiously, the chimneys are not exactly square (despite making accurate cuts), but this flaw isn't apparent unless one looks straight down at them.
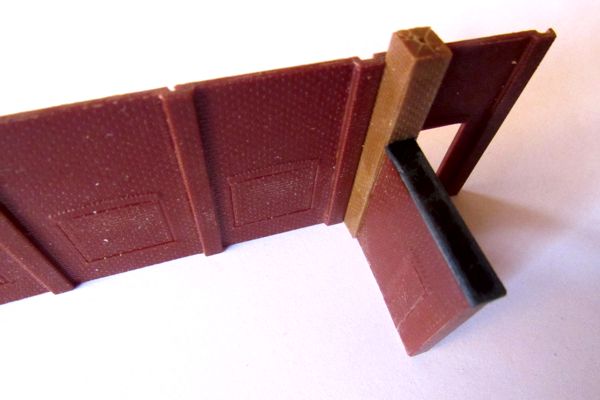
This whole portion of the building is such a kludge that I had to make each part to fit, one at a time, and assemble it piece by piece.

Eventually everything came together in the main assembly.