3. Laying the Foundation
Breaking Some Eggs
It was time to get real. I'd planned to build it with my preferred materials, so I ordered the largest standard-size ½"-thick sheets of Gatorfoam available, which are 24" x 36". So, in order to make a 36"-diameter circle of 1"-thick Gatorfoam, I interleaved two sheets with a third sheet cut in half.
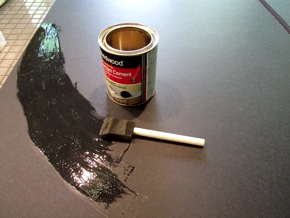
Before laminating the sheets, I marked off the circumference so I knew where to stop applying the contact cement. This not only saved a lot of cement, but allowed me to separate the trimmings into useful scrap pieces.
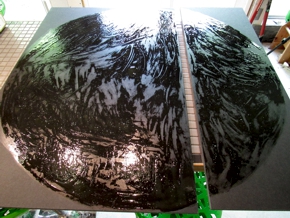
When the cement was ready, I began laminating the sheets together. The result was a 36"-square of 1"-thick Gatorfoam.
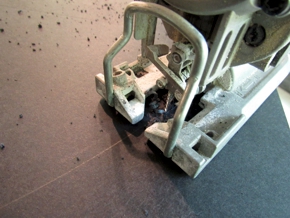
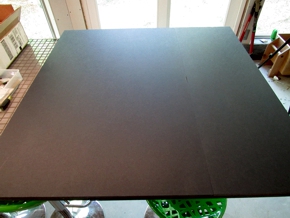
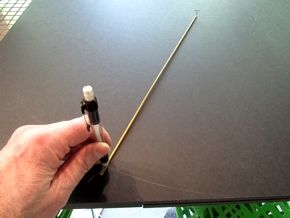
I used a jig saw to cut the circle, and with a bit of sanding the base was ready for action.
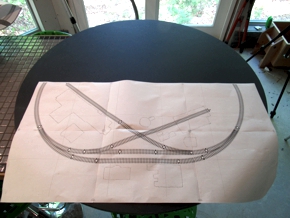
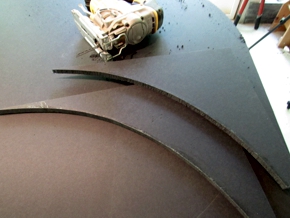
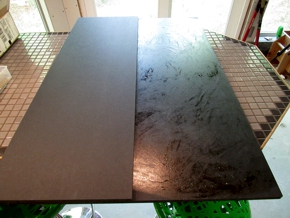
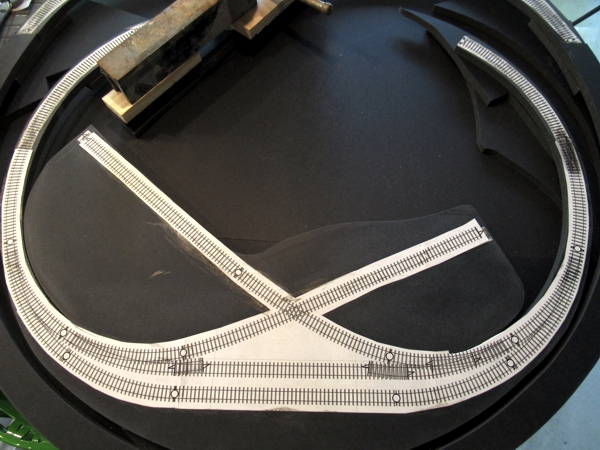
After laminating the 1:1 plan to more Gatorfoam with contact cement (below left), I extracted the subroadbed cookie-cutter style in two pieces (below right).
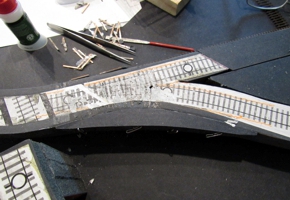
Finally, I made some splicing plates and glued the three main subroadbed assemblies together. For maximum strength, I clamped the joints and allowed everything to sit for the better part of a day.
Around 11 May 29021, after I'd laid most of the track, I decided to add a trim piece around the perimeter. I had a number of large-ish scraps of Gatorfoam left over, and after some measuring and calculating, I learned that I had just enough material for the full circumference. In order to secure the trim strips, I clamped the layout to the countertop, then wedged wooden blocks against the ends of the trim strips, and allowed everything to dry overnight.

It was a tedious task: in order to achieve an 18-inch radius, I had to make kerfs in the back of the Gatorfoam every quarter of an inch—that works out to over 450 kerfs to cut for the full circumference. Also, each of the four trim parts took a day to set. Still, I think it was well worth the effort. Plus, it added a half-inch more layout real estate along the edge (roughly equivalent to a half-square-foot of area), which will allow me to add rock cuts and retaining walls outside of the outer loop, and it will expand options for the Augustine urban area.
Tweaking the Recipe
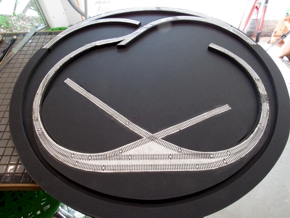
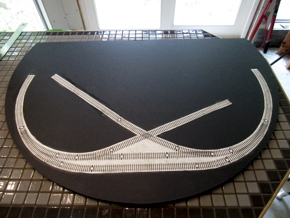
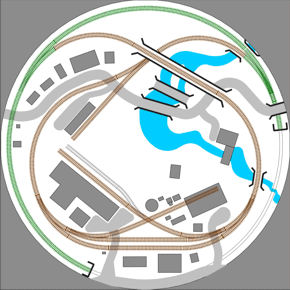
On 1 May 2021, as I was beginning to bond the subroadbed in place on the base, I was envisioning the tracklaying process, and something about the plan started to bother me. It dawned on me that I was basing everything on the geometry of the Trix sectional track of the Version I track plan. But with handlaid track, I didn't need to follow that geometry, which meant I could do away with the two super-tight turnouts toward the middle that were bothering me. So I reworked the plan with smooth-flowing, more aesthetic curved turnouts. The only tricky part was staying within the boundaries of the original plan, because the subroadbed was already cut out, and I was not about to replace it.
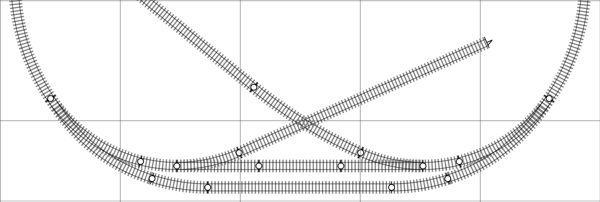
Above is before; below is after.
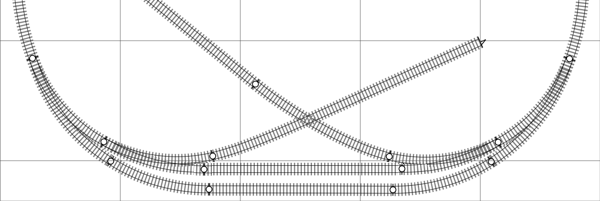
It took three tries to nail it; when I was satisfied, I printed it out and glued it over top of the old printout.
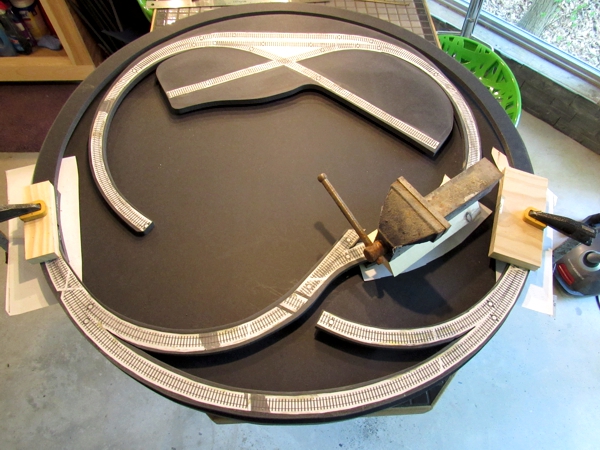
Another tweak occurred after I'd started building the turnout. I'd bonded all of the PC board ties in place, disliked the way it looked, and immediately tore the ties back out (below left). I re-drew the turnout and the surrounding track using a wye instead, which greatly improved the flow and aesthetics. After widening the subroadbed a little and gluing new artwork in place (below right), I started over.

One other minor change I made (10 May 2021) was to restore the second siding at the factory, which I'll model as disused. This brought the layout very close to being completely faithful to the original plan—not that this was mission-critical.
Of Tunnels and Access
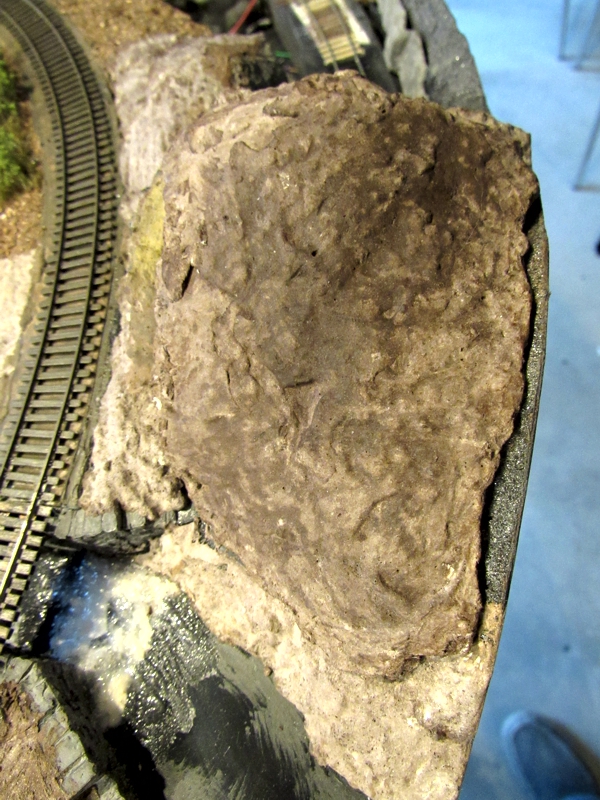
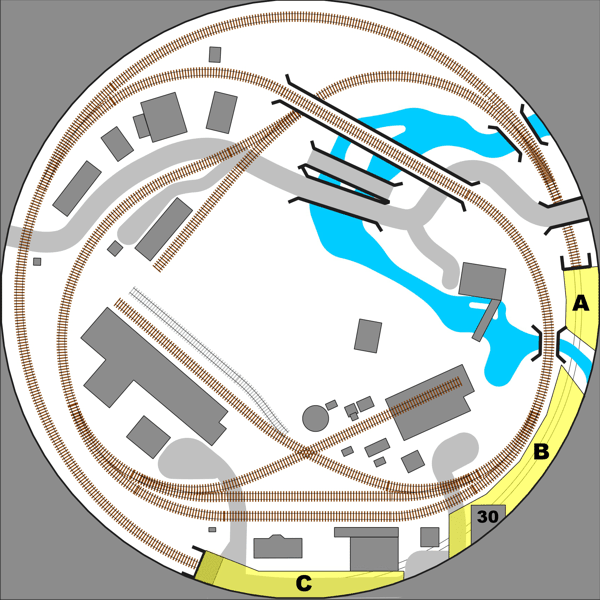
The tunnel along part of the outside loop needed access. However, I didn't want to compromise the Gatorfoam trim piece that surrounds the whole layout by cutting a slot in it. So, I devised a series of panels that could be removed from above. They are labeled A, B and C, below. Construction of panel B inspired me to add the corner of an unknown building (#30).
To blend the panels into the rest of the scenery, I first placed plastic wrap under the panels.
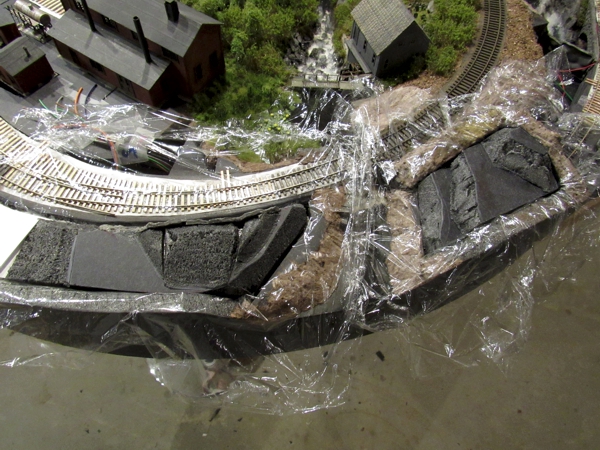
Then I applied Sculptamold over the whole panel, working it up against the plastic wrap.
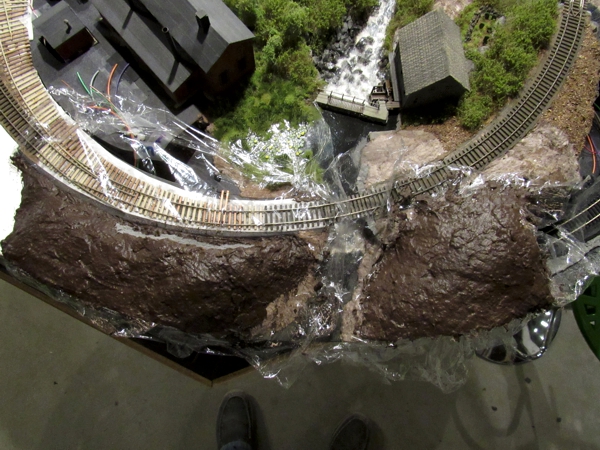
The Sculptamold is not especially strong where the edges taper, so I blunt the edges a little, then saturate them with dilute white glue to give them strength.
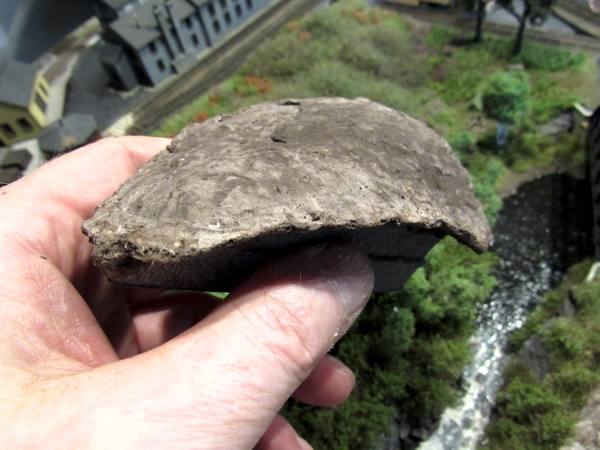
Above is the structurally finished A panel; below it's in place on the layout. Ground cover and other vegetation will disguise the edges, and (when finished) can be removed by simply lifting it up by a tree.