7. Non-Retro Scenery
At the outset of the project, I was determined to make the layout authentically retro in every possible way, and this included the scenery. Plaster over wire screen... vacu-formed rock... dyed sawdust grass... bottle brush trees... lichen vegetation... I'd even started collecting materials, including 60s ballast. I thought it would be fun.
Fast-forward a year, and with the project reboot came some changes. The first of these was to drop the "ground rules" with respect to period authenticity. I determined it wouldn't be fun. What was appealing, however, was simply forging ahead using whatever materials suited my fancy, and to hell with period authenticity. Thus my little retro layout features such things as rubber rocks, pre-colored sanded grout terrain, present-day ground foam and flocking and so forth. What will give it the "retro feel" is the style of execution: not necessarily logical, not super-realistic, yet not stupid-looking.
Rockwork
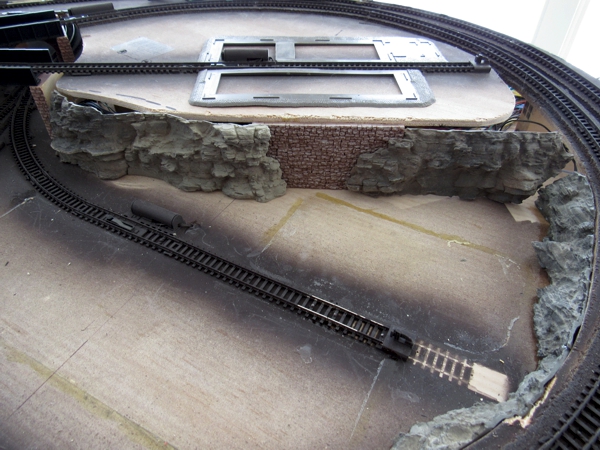
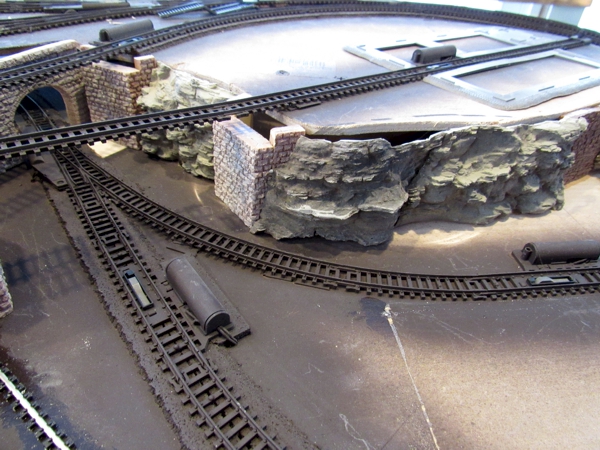
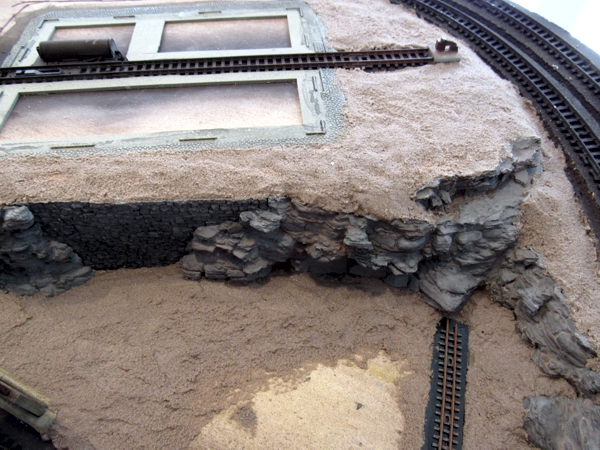
For rockwork, I used decidedly non-retro Cripplebush Valley rubber rock. Two reasons: I love the product, and I had a bunch left over that wasn't doing me any good. Rockwork got under way 11 February 2021, and was completed in two days, along with the retaining walls, tunnel portals and abutments.
Terrain
I discovered some time ago that pre-colored, pre-mixed sanded grout makes a great terrain base, and the first to go down was on 19 February 2021 around the factory and gravel works.

There are a lot of advantages to using pre-mixed grout...
- ready to use — no mixing
- long open time — up to a half-hour
- use as much or as little as you need, from a thimbleful to a half-gallon
- virtually no shrinkage, even when applied up to a half-inch thick
- adheres to almost any surface
- dries pretty much the same color as it is wet
Although there are a few disadvantages...
- dries as hard as a rock — nearly impossible to modify once dry
- a bit pricey
- adds weight to portable layouts
Trees
At first I was going to use a favorite retro kit, Atlas 2811 trees.
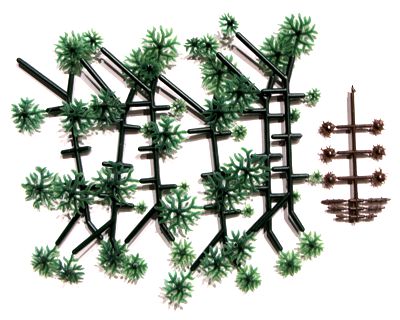
Then I thought of embellishing the greenery with deciduous tree kits from Tomytec.
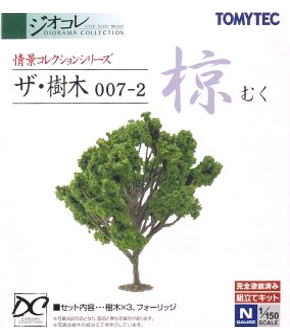
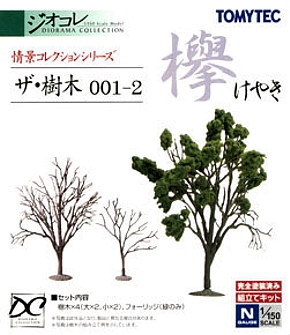
These kits include a bunch of tree and branch armatures cast in bendable plastic. Upon close inspection, they're very much like DIY twisted wire armatures molded flat, requiring the modeler to bend the branches into 3D shapes before applying the greenery. But the parts being flat from the outset got me thinking. After I'd begun work on the background players, it dawned on me that the flat tree and branch castings were perfect for the building parts.
Greenery
As I got to work on the canyon micro-scene, I realized there was little to no room for trees in the first place, so I went with good old lichen—can't get more retro than that—and I had a bunch left over from the Fort Hanover project. It was a bit too brightly-colored, so I toned it down with a little Camouflage Army Green spray paint.
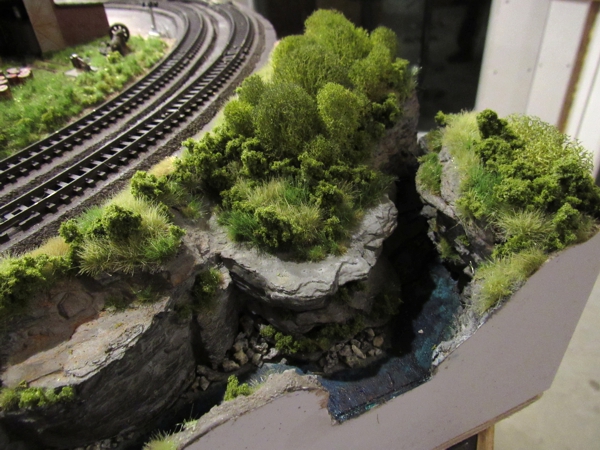
I confess the mixture of old and new greenery materials, such as prairie tufts and ground foam, began to grow on me. I did not, however, use any flocking material—I don't like how it gets everywhere.
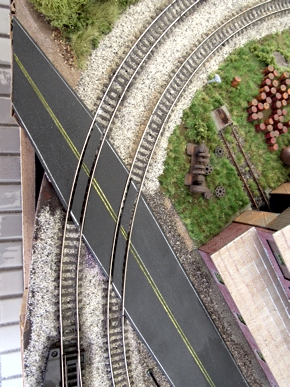
Roads
I used 0.030" white sheet styrene, instead of the usual (for me) black, so I could use a different technique to make stripes: after painting the piece dark grey, I scraped the lines into the paint with a tiny screwdriver. To make the lines appear weathered, I scraped lightly, and I made yellow lines by tracing over the scrapes with a yellow Sharpie. The road running off to the right has a crown, courtesy of a piece of strip styrene underneath along the center that's about 0.020" thicker than the ones along the edges.
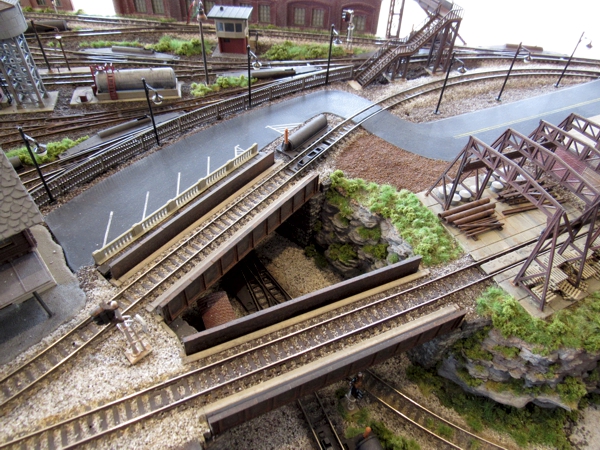
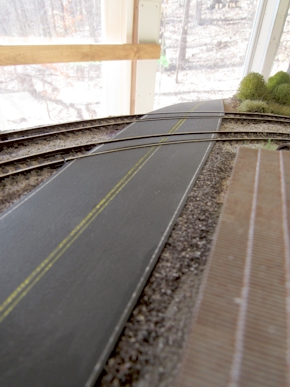
The road behind the factory dips down and is tapered to force perspective. Below left is the normal view; below right is a helicopter shot to show the trick.