3.28 Davis Inn
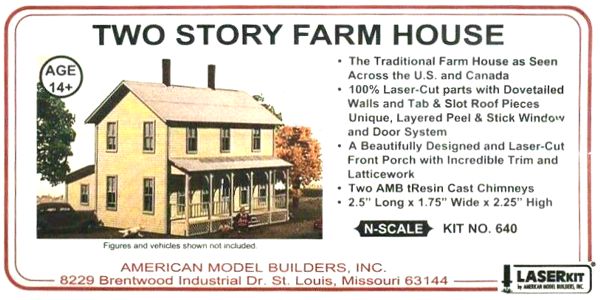
For this I made use of one of the kits I'd purchased for the aborted Black River & Western: American Model Builders #640, Two Story Farm House with Front Porch. It didn't get much in the way of modification: I removed the addition on the back, and flipped the front porch end-for-end so the stairs faced the driveway, which is on the left.
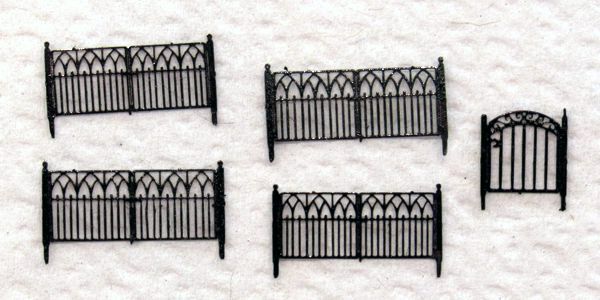
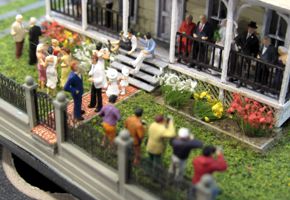
After I'd only gotten the Monster Modelworks stone foundation built and the four main walls assembled, I was already working on details. I've had a massive collection of etched metal fences for many years, and I've been itching to use some of them. So I assembled the fence along the sidewalk, based loosely on the reference image.
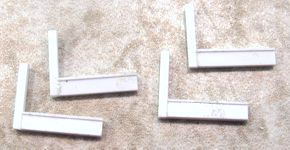
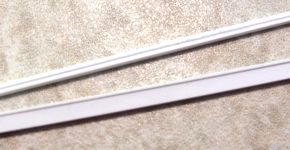
It started with strip styrene: 0.060" x 0.200", 0.020" x 0.080", and 0.060" x 0.060". I capped the 0.060" x 0.200" stock with 0.020" x 0.080", and in the sides of the 0.060" square stock I scored a pair of slits to hold the etched brass parts (below left). Then I cut parts to form fence sections (below right).
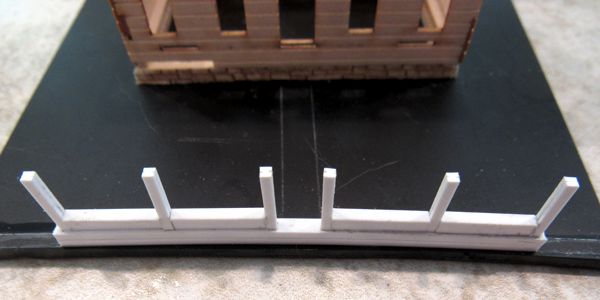
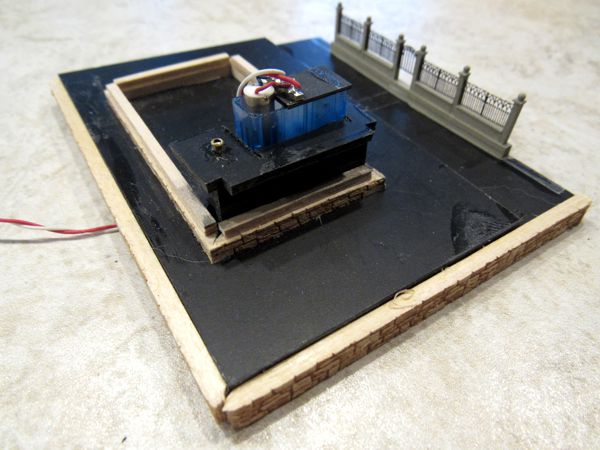
I assembled the L-shaped sections to make the whole fence on a ⅛-inch thick sheet styrene base (below) and then painted it Floquil Concrete.
I "painted" the etched brass fence parts with a Magic Marker so that there was no heavy build-up of paint (below); it also made easy work of any touchups.
After I pressed the parts down into the slots in the posts, I capped the posts with squares of 0.020" x 0.080" strip stock, followed by tiny steel balls from a thrust bearing I sacrificed for the project. Concrete paint on the post caps finished the fence.

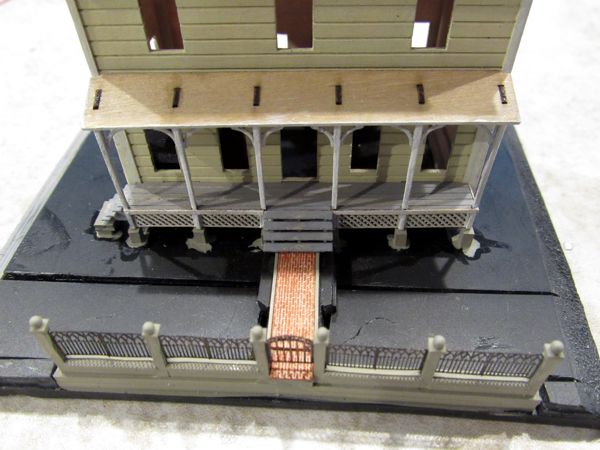
Given the height difference between the house foundation and the surrounding terrain, I added stone retaining walls along the back and one side.
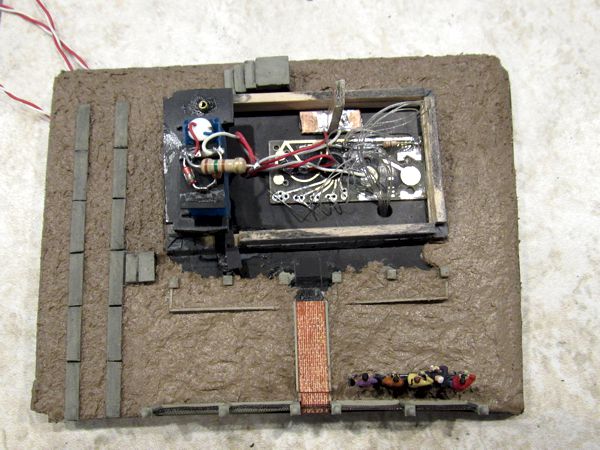
Then I added the brick walkway, made from Monster Modelworks brick sheet, drybrushed with Floquil Zinc Chromate, and trimmed with 0.020" square strip styrene painted Concrete.

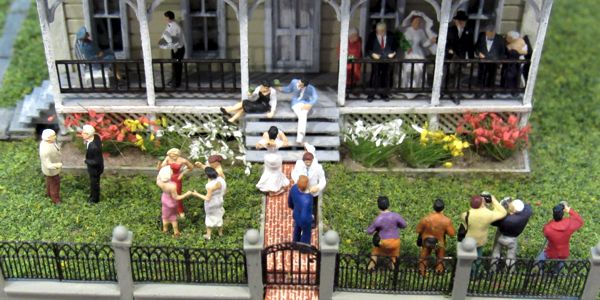
After painting the house Antique White (with white trim) and assembling the front porch, I added footings and other details to the base. I also tested the modified rocking chair mechanism, and surprisingly it worked perfect—I say "surprisingly" because I did the test while a guest was present.
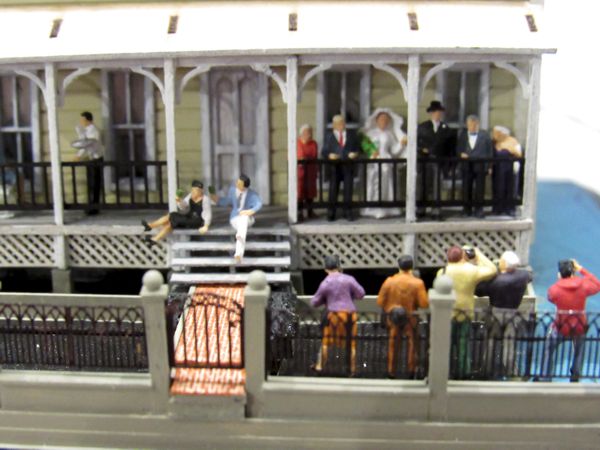
At the last minute I also decided to add a wedding party being photographed.
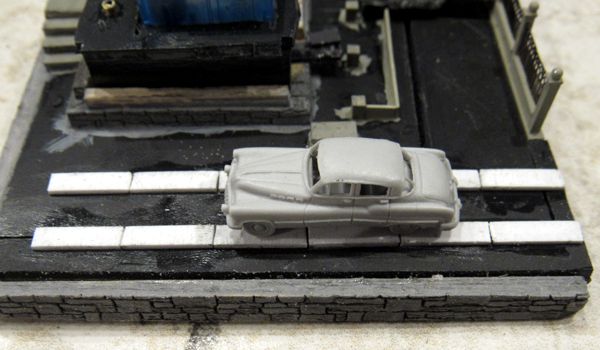
I took the opportunity to model something I'd wanted to for a very long time, something I don't think is often modeled: a ribbon driveway (two strips of paving with grass down the middle). I made the concrete out of 0.020" x 0.100" strip styrene cut into individual sections measuring ~6 N Scale feet long.
With all of the principal details in place on the property, it was time to add "earth." For this I used sanded caulk made to match the sanded grout I also use (I'd wanted to use the grout, but it wouldn't stick to smooth styrene).
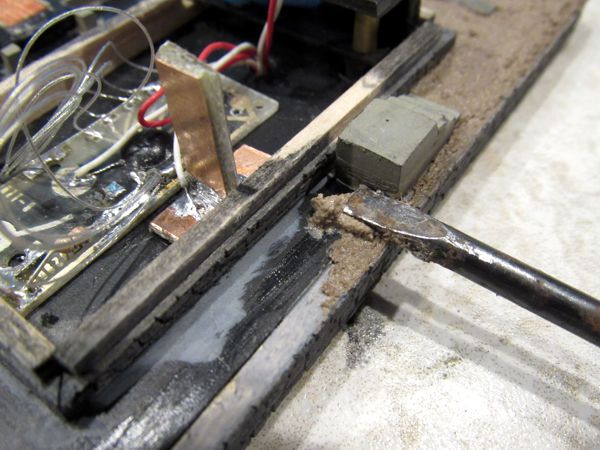
Precision was required to get the contours just right, and work the caulk in around all of the various details. I used a variety of small screwdrivers to tease it into shape.
Once the "earth" had fully set, it was time for grass (Woodland Scenics "grass" ground foam), bonded in place with thinned white glue (roughly 3:1 glue to water).
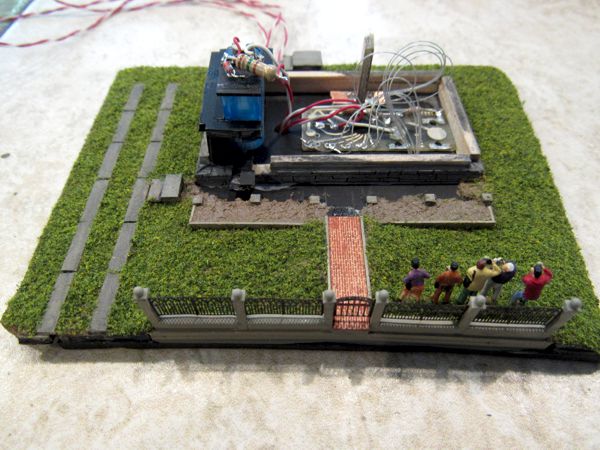
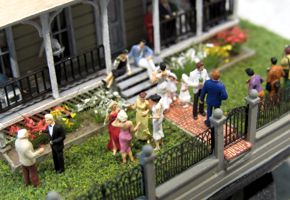
Then I added Noch flowering tufts cut in half to the gardens, and with the front yard done, I populated it with wedding party guests (that giddy couple sitting on the porch steps, being photographed by the maid of honor, was voted the next to get married).
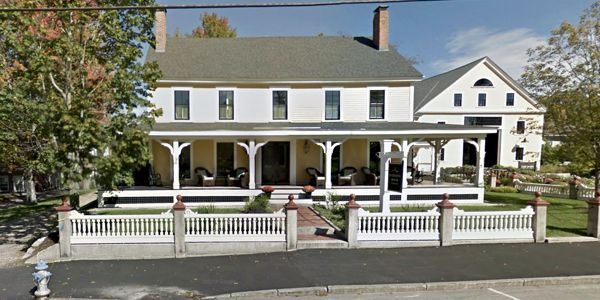
Reference Images
Located in Wolfeboro, New Hampshire, this house is quite similar to the model.
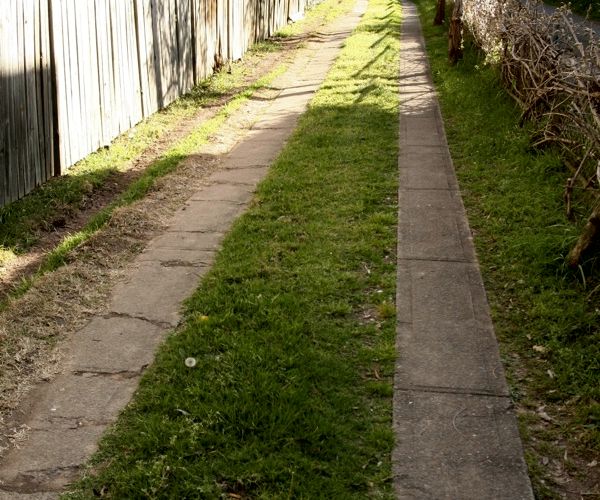
And here's a ribbon driveway:
Named For...
Railwire friend Christian Davis has helped me with my house among many other things.