2. Base and Track
Base
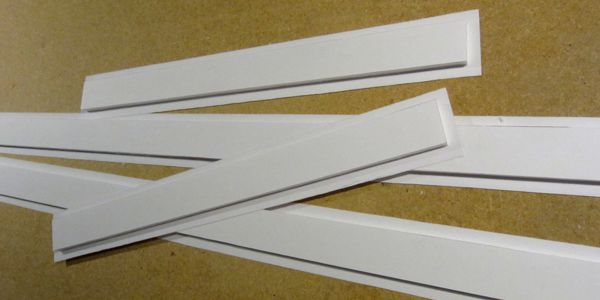
By the time I started work on the Jersey City Industrial, I'd established a preferred method of constructing small layout bases. Gatorfoam had become my material of choice: strong, lightweight and reasonably waterproof. I found that layouts up to around two by four feet could be built on two layers of half-inch Gatorfoam. Ordinarily I laminated the two layers together; for the JCIR, I chose to separate them to provide space for switch machines.
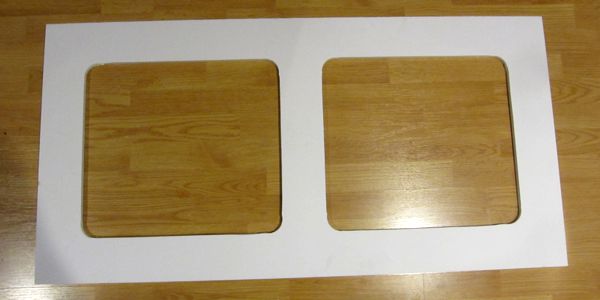
Basically I made a long, shallow box, the bottom of which had large access openings so I could easily work on the underside. This also permitted me to drop the scenery below track grade at one corner for added visual interest.
Track
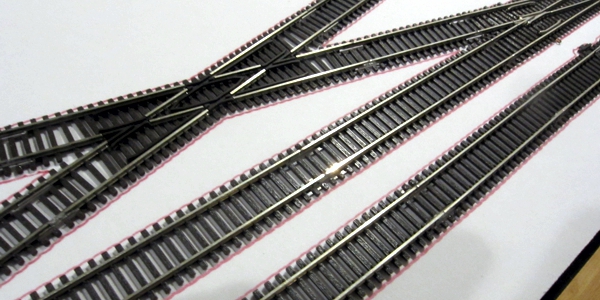
Atlas Code 55 is quite nice track, and it allowed me to accelerate layout construction considerably. Plus, as I've learned, sectional track is a good option for compact layouts as it simplifies tracklaying and results in precise curves. Not to mention that there is presently a major shortage of flex, as well as switches—thankfully I was able to track down an eBay dealer with just enough switches for my little project.
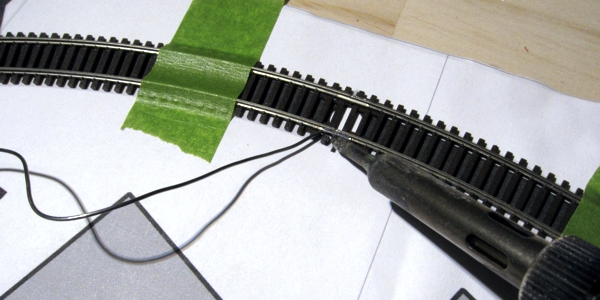
I laid the track using a technique I've employed since the White River & Northern II, that being double-sided foam tape. For this layout I decided to give 3M's VHB (Very High Bond) tape a try. This is their top-of-the-line tape, which is used commercially, such as applying trim strips to automobiles. I thought it might be worth it because it's somewhat more flexible than the traditional foam tape I'd used before, eliminating the need to slice the tape in half.
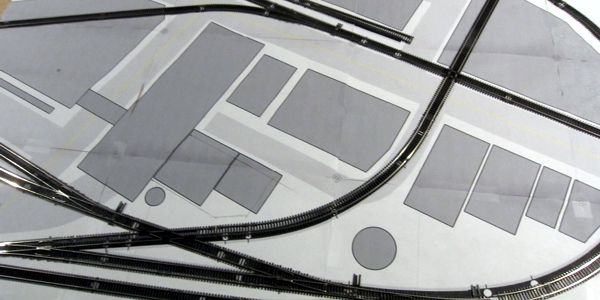
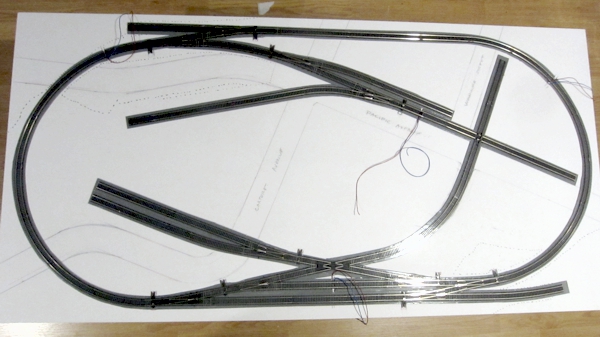
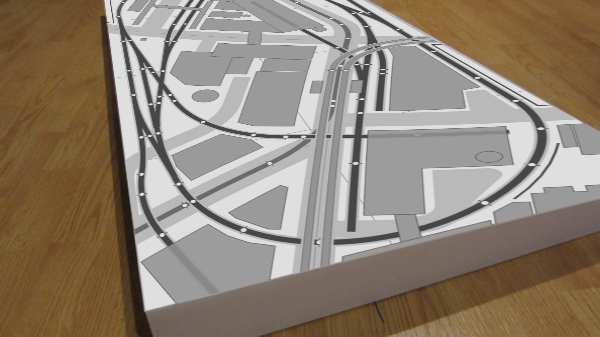
Tracklaying began with a full-size print of the plan. I assembled the track over the plan, taped it down, and soldered it together to create five permanent subassemblies.
Then I connected the subassemblies together on top of the 1/2-inch Gatorfoam base, and outlined the track with a Sharpie.
Before laying the track, I had one important order of business: I needed to prevent the switch throwbars from getting stuck to the tape. I did this by placing each subassembly in place over the still-protected tape, marking the location of each throwbar on the layout, slicing away the protective strip at these locations, and applying pieces of plain adhesive tape over the exposed roadbed tape.

Then it was a matter of removing the protective strips, very carefully positioning the track over the tape, and pressing it down firmly.