5. Getting Back Into It
With the track all re-laid in its final new configuration, I installed feeder wires. The work was exceedingly slow-going; I'm still recovering from a serious injury to my left index finger, my hands shake like I've had twelve cups of coffee, and my neck was on strike. Since I'd been planning to run two locomotives, I'd already installed insulated rail joiners in preparation for an old-fashioned dual-throttle block control system, just like the layout's ancestor. Also, I already had all of the ingredients I needed to build two battery-powered PWM throttles.
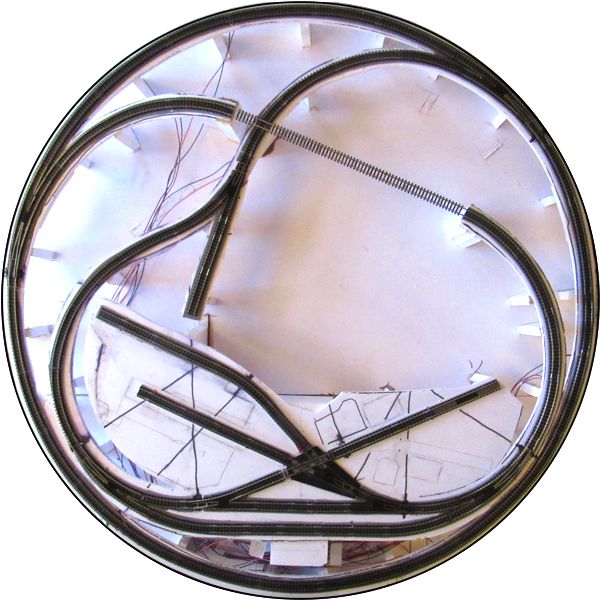
Next, I turned my attention to turnout control. I'd originally planned to power them with Tortoise switch machines, but they're too expensive for my current budget of zero. So, I decided to use good old Caboose Industries so-called "N Scale" ground throws. Yes, they're horribly oversized, but then so is my track! It would greatly simplify the process of controlling the turnouts, and at considerable savings.
I took the most simple, straightforward approach possible. After bending the tip of a piece of fine steel wire into a short L, I inserted the wire under the turnout and popped the end of the L up through the hole in one of the two rivets that secure the point rail to the throw bar. Then I slid a couple of pieces of thin black styrene under the wire, and glued them in place with CA. This both locked the wire under the throwbar and created a smooth sliding surface for it. I bent the long end of the wire vertically into another L as close to the turnout as possible. After I secured the ground throw to the subroadbed with a piece of VHB tape, I carefully trimmed the ground throw end of the wire with a Dremel cutoff disk.
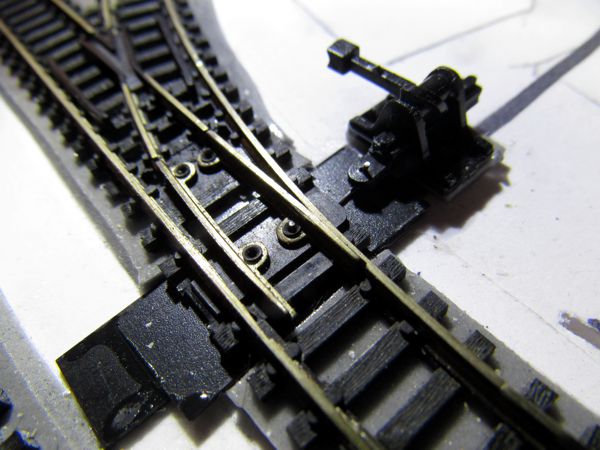
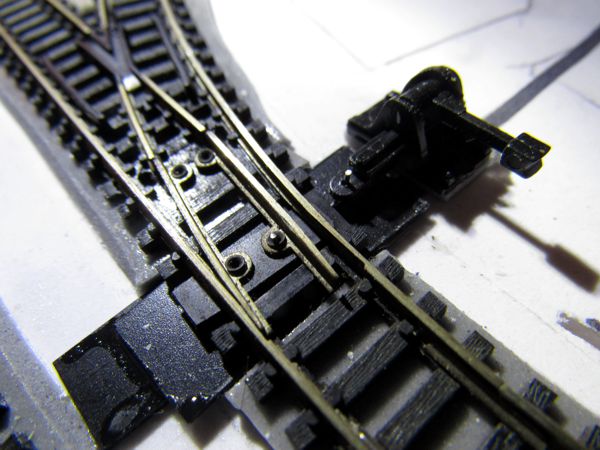
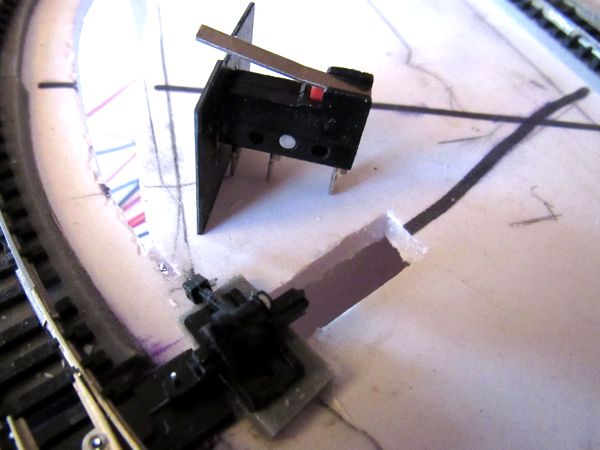
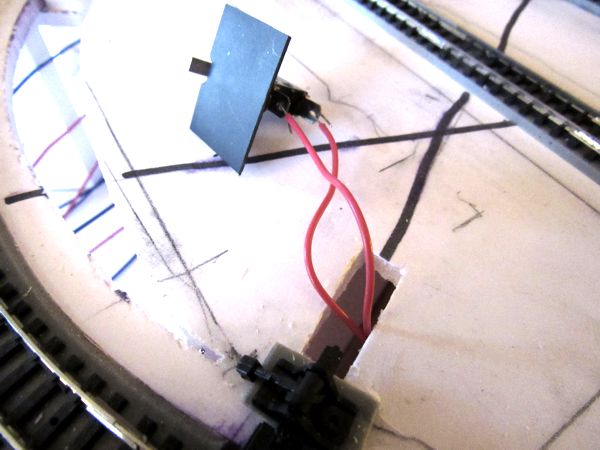
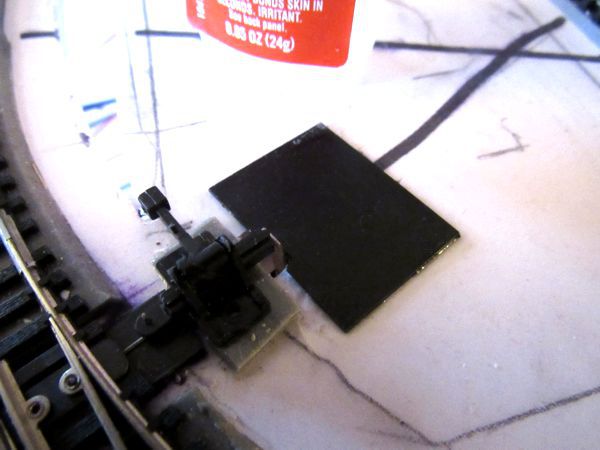
As I was installing the ground throws for the yard area, it occurred to me that I could simplify the control panel by adding microswitches to the ground throws; they'd cut power to the sidings when the turnouts were thrown against them so I could park one of the locos as needed. I installed the microswitches such that they wouldn't interfere with the placement of structures: I glued them endwise to a chunk of sheet styrene, cut a hole in the subroadbed, and mounted them vertically in the hole, with just the end of the switch lever sticking out to engage the end of the ground throw sliding bar.
Now the control panel could be simple and slender, since I'd eliminated the need for a diagram of the yard and the three track power on-off toggles. The panel will be printed on label stock, covered with clear laminating film, and wrapped around the layout fascia adjacent to the Greystone station. Open circles indicate where block control submini toggles would go. Unfortunately the project ended before I could finish anything.
