Streets, Curbs & Sidewalks
Streets
Streets have an important job: the more realistic they are, the better everything else nearby will look. My technique for making streets is to start with the streets, and assemble the curbs, sidewalks, and other details around them. I begin by bonding strip styrene to the layout base along the street edges, with thicker strips along the middle to create a crown (below).
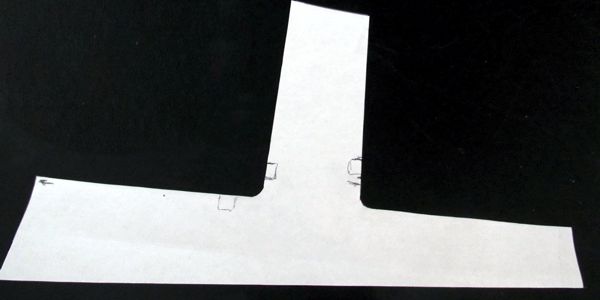
I make a precise paper template for the largest portion of roadway possible by rubbing the paper along the styrene strips. After cutting out the template (below), I tape it to 0.020" black sheet styrene, then carefully cut it to match. I'll test-fit it and make adjustments as necessary. I also cut openings for storm drains and other in-street details at this time.
Next I spend some quality time with medium and fine sandpaper giving the street surface a nice even "tooth," and I'll use a dull X-Acto blade to carve major cracks and potholes. Stripes are made with white and yellow transfer paper (which is a lot like old-fashioned "carbon paper," except it comes in a wide range of colors). I lightly sketch out the marks on the transfer paper itself, place it in position on the street, and trace over the marks with a dull pencil. In this case, I was after the look of very old, barely visible lines, so I pressed lightly on the transfer paper (below).
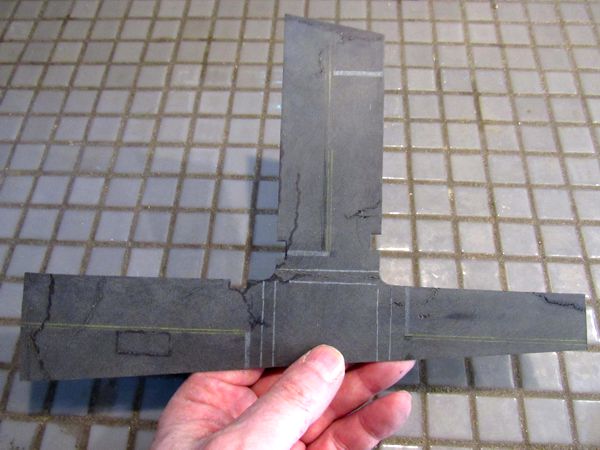
Finally, I applied coloring: an overall coat of pale grey powdered chalk to lighten the whole street, then faint stripes of black for oil stains. I placed the finished street in position on the layout, then used MEK to bold the edges to the strip styrene. After this, I glued the storm drains in place (below). The street is now ready for curbs and sidewalks.
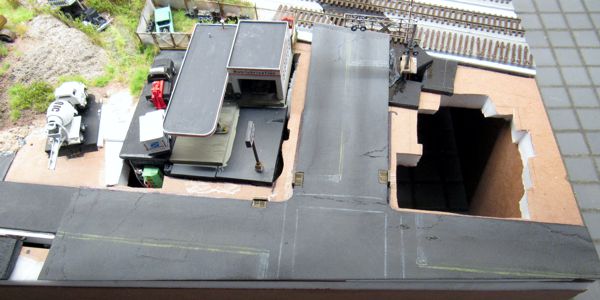
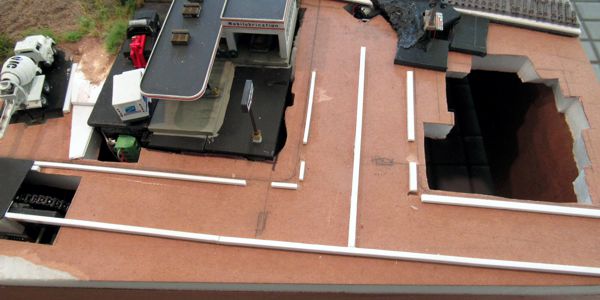
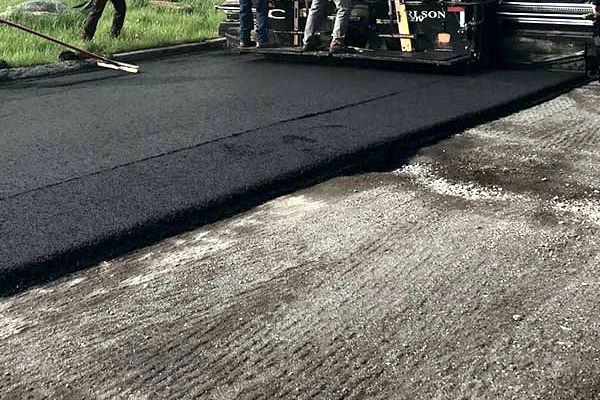
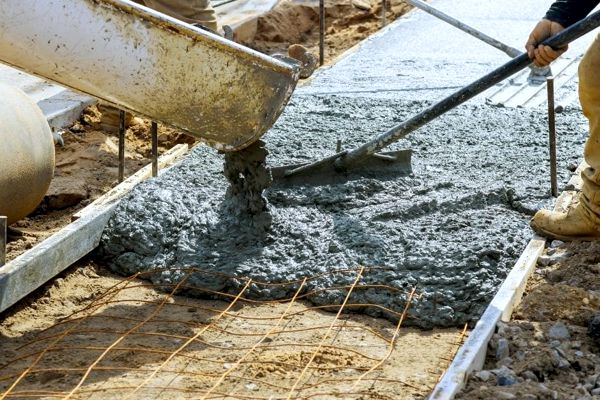
To simulate the road construction area, I heavily sanded the sheet styrene with coarse sandpaper to simulate a milled road surface, followed by a wash of pale grey stain to bring out the texture. This strip was installed next to, and slightly lower than, the fresh new road surface being smoothed by the road compactor (below).

Curbs & Sidewalks
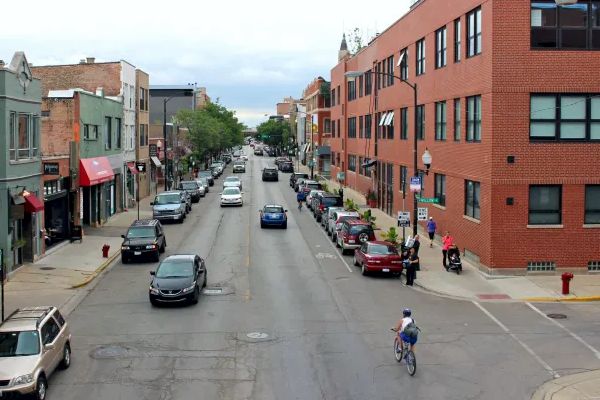
When making curbs, one must be mindful of geographic location, era and age: the size, shape and composition can vary considerably. Plus, they change over time: for instance, curb cuts started going into effect in the early-to-mid-1970s, although one can still find areas that haven't caught up yet. And finally, their condition can vary most of all, from freshly-poured to crumbled rubble to nothing but weeds.
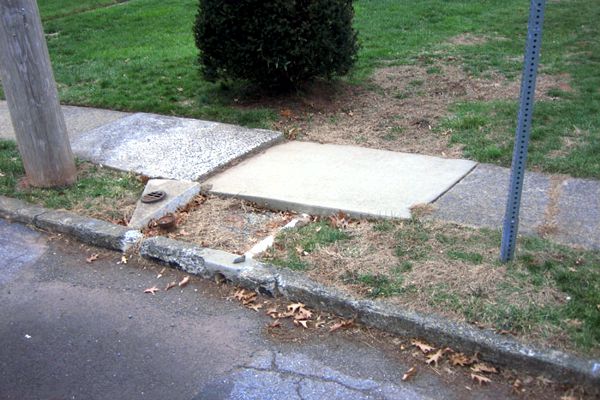
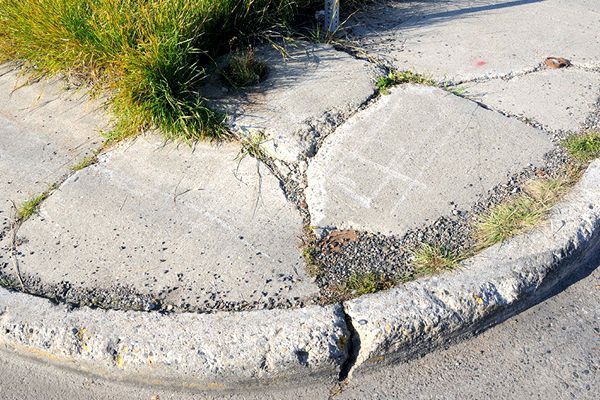
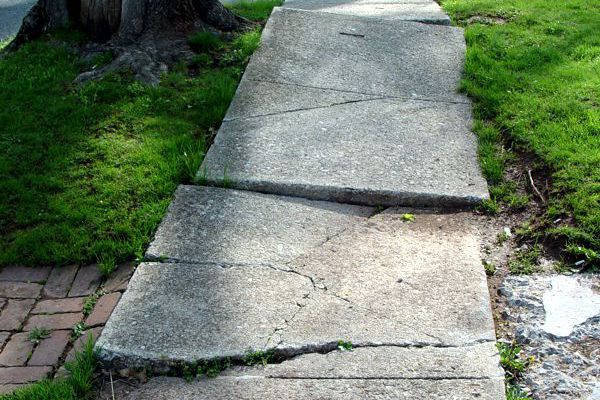
I find sidewalks a lot of fun to model, although they can be the most challenging, especially around footings and at corners and curb cuts. Usually I'll start with individual squares of 0.020" thick sheet styrene, some of which I'll further break apart: this automatically results in a natural bit of unevenness—unless, of course, I'm modeling freshly-made sidewalks, in which case scribing contiguous lengths of sheet styrene is perfectly fine. I pay special attention to areas around driveways and trees, where sidewalks receive a lot of abuse—see the reference images for just how bad things can get. Also, color can vary wildly, from nearly pure white and light tan to various greys and browns.
As for dimensions and features, it all depends on the circumstances. Pre-ADA, widths were all over the place. ADA compliance required certain minimum widths, curb cuts, and so forth, but one can still find a great many exceptions, violations, and so forth. So, basically, regardless of the modeled era, anything goes, especially in poorer urban areas. I went a little overboard in my research, but at the end of the day, I really didn't need to—just one look at the reference images and you'll see what I mean.
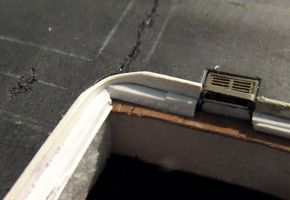
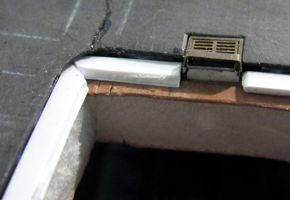
The reason I start with the streets and then work toward the sidewalk is because curbs are much easier to fit to a street than the reverse. I start with 0.040" x 0.080" strip styrene cut to various lengths, shaped, distressed, painted and weathered. This is the perfect size material, as most real curbs are typically between 6 and 7 inches wide, and 0.040" scales out to 6.4". I make "footings" from strip styrene (above left) to hold the curbs at the right height—which is about the same as its width—then bond the curbs to the footings (above right).
Reference
Patchwork quilt:

Ghost lines:
Old becoming new:
No two pieces the same:
No curb cut here:
Almost gone:
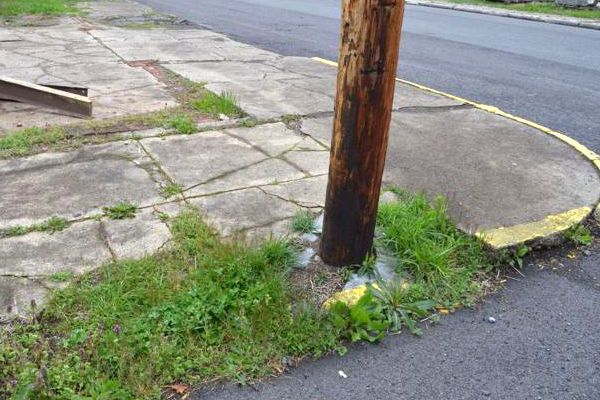
Trees at work:
Sidewalk repair 101:
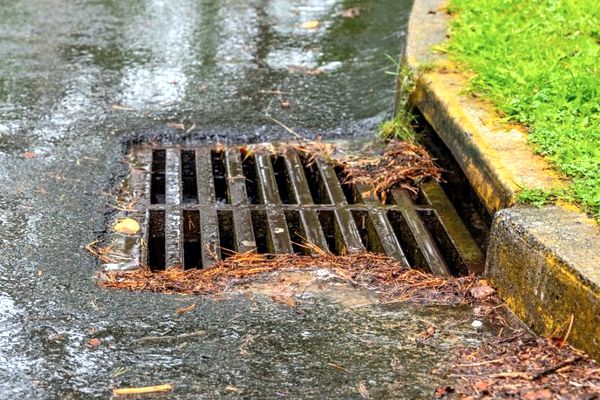
Typical storm drain: