Enginehouse Doors
First Generation
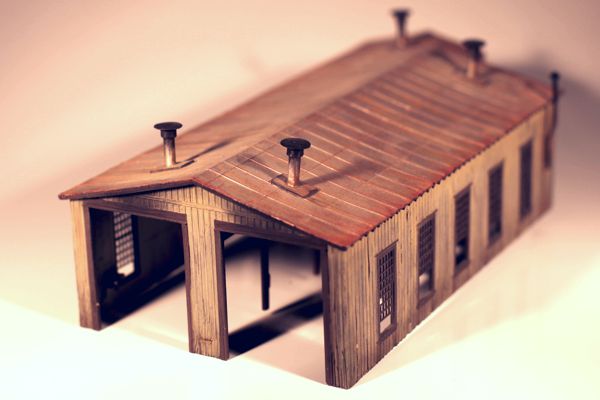
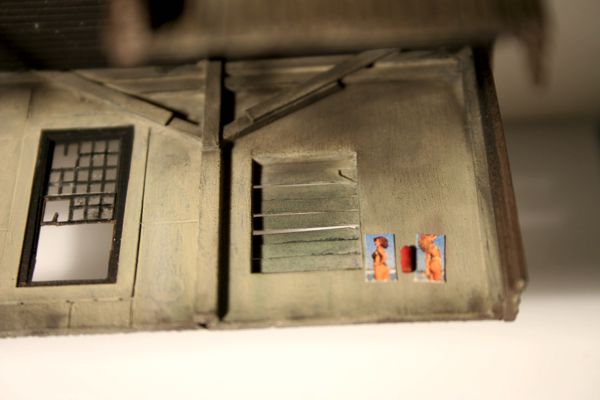
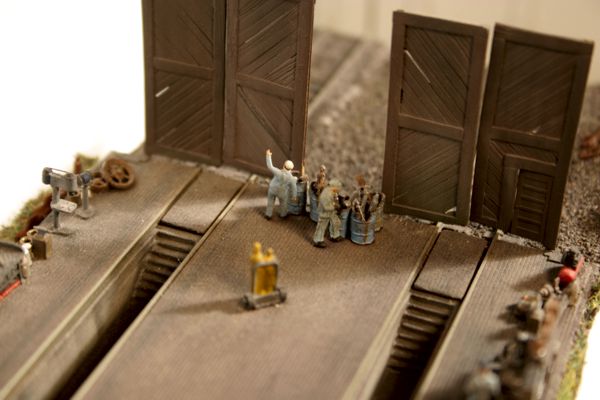
I first animated enginehouse doors back in the late 1990s, when I built four of them for a two-stall enginehouse on the White River & Northern IV. The enginehouse itself was kitbashed from an old Arnold Rapido roundhouse kit. I chose it because of its wooden siding, and in fact the walls and roof vents were all I used from the kit. The roof was all new—including all of those individually applied rafter ends. Windows were from Grandt Line, modified to fit the opening size.
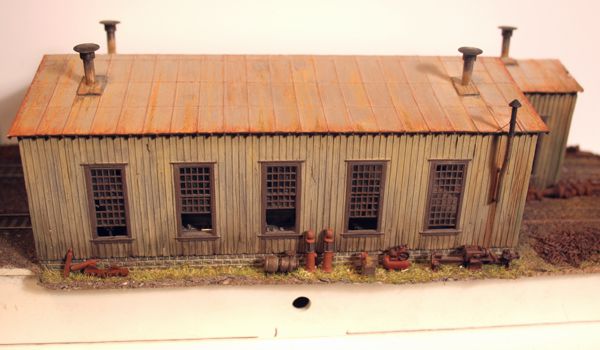
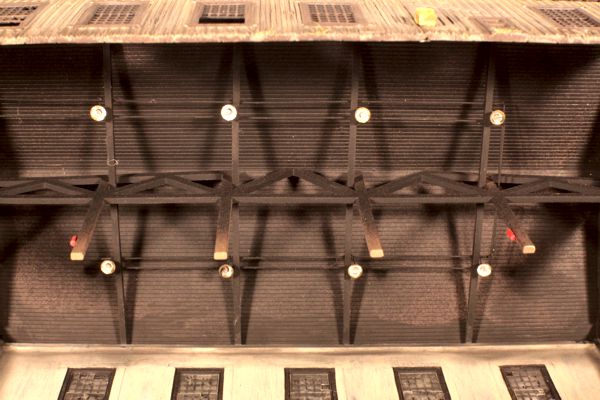
The interior was fully detailed, and included "proper" lighting, comprised of nine microbulbs with enameled steel shades (HO Scale locomotive bells) mounted in the roof trusses.
There were a few "adult" details as well.
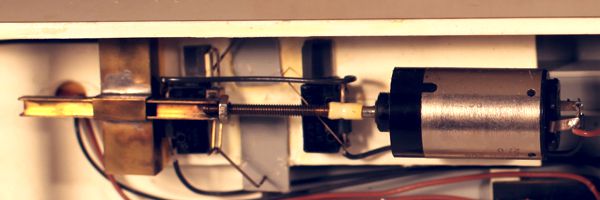
The structure fit onto a base that housed the mechanism. The doors, therefore, were part of the base, and not the structure.
There were four complete mechanisms, one for each door, and each mechanism was controlled individually at the layout control panel.
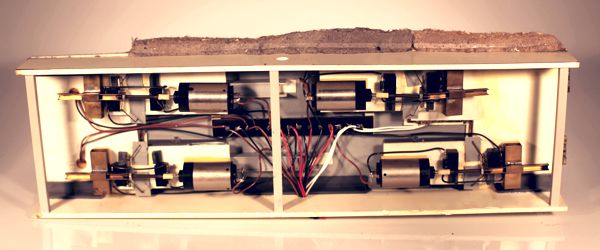
The mechanisms worked like this: a mini-gearhead motor turned a threaded shaft, which moved a slider back and forth; microswitches at each end of travel stopped the motor. The slider had a lever attached to it that could swivel, and Z-links from each door half engaged slots in the lever. As the slider moved, the lever swiveled freely, and the motion of the door halves was slightly irregular and randomized, so that it didn't appear smoothly mechanical in action.
Second Generation
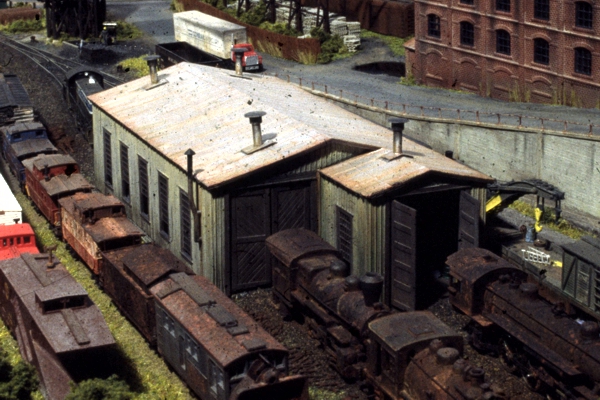
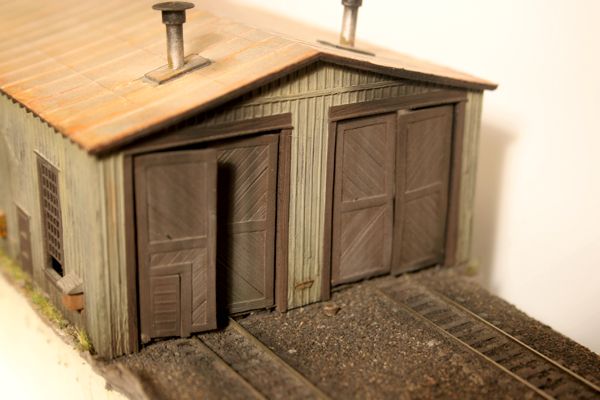
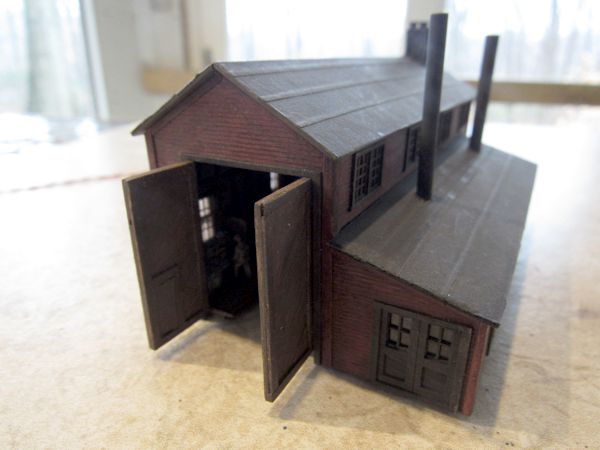
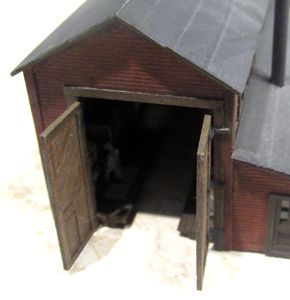
Then, in 2020, I animated one set of doors for the enginehouse on the Mountain Vista Railroad.
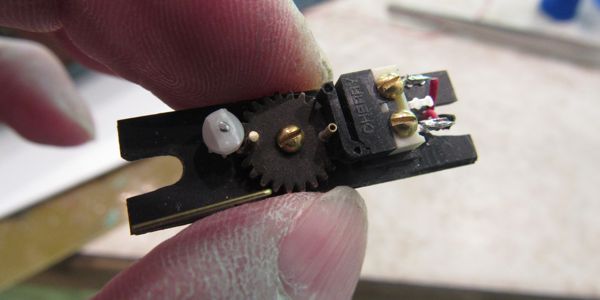
I faced a number of challenges with this project. The most daunting was that the mechanism had to be tiny so it would fit under the roof of the building, because there was zero room underneath the building. (Fortunately I'd just completed the train order signals, and the super-compact mechanism I'd built gave me the confidence to attempt this bit of insanity.) The mechanism also had to fit within the existing rafters, without obscuring any of the interior lighting LEDs. Then, I had to drive two rotating objects, but only through 90-degree arcs, in opposite directions no less, and there was no room for bell cranks or other such linkage. Basically it had to operate by magic.
The first thing I tackled was the doors, for which I made six tiny working hinges. Why? Because I'm a stickler for natural visual effects, and pivoting the door within its dimension, as one would be tempted to do for simplicity, would produce odd-looking movement, similar to concealed cabinet door hinges. So I made my own hinges from brass flat stock, stainless steel capillary tube, and 0.010" brass wire.
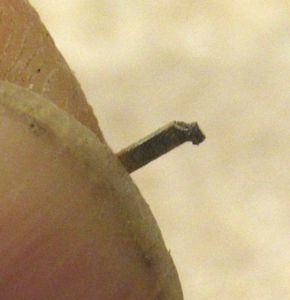
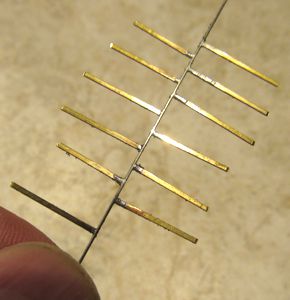
I soldered bits of the flat stock to the capillary tube (above left), then ground away the excess metal with a Dremel, making sure to remove half of the tube at the end of each part. I slid two hinge parts onto 0.010" brass rod (below left), then bent and trimmed the wire around the hinge parts to lock them together (below right). Granted, the hinges are much too big for N Scale, but making them any smaller wasn't practical for me, and besides, they look fine at a normal viewing distance.
Then I had to make new doors, because the existing ones weren't the right size (they didn't close, so it didn't matter). I made the new ones just like the last ones: with individual boards. After attaching the hinges to the new doors, I glued them to a new door frame, then painted everything.

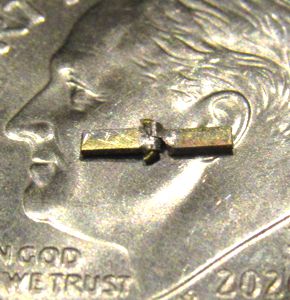
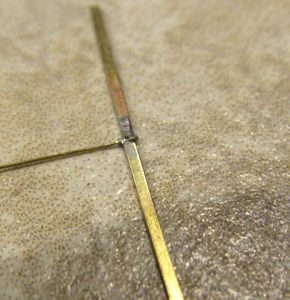
For the mechanism, I recycled the micro-drive (double-worm on a pager motor) I'd originally slated for the barber pole, but ultimately replaced because it was too noisy. Since this won't be running continuously, I wasn't as concerned by noise. The business end of the mechanism comprises a gear with two index pins, one each for the open and closed positions, that engage a microswitch to keep the motor running for a full cycle. One of the pins is actually tubing, into which a pair of 0.005" wires are inserted. As the gear rotates, it pushes and pulls the wires to move the doors. (The notches in the ends are to clear the interior lighting LEDs.)
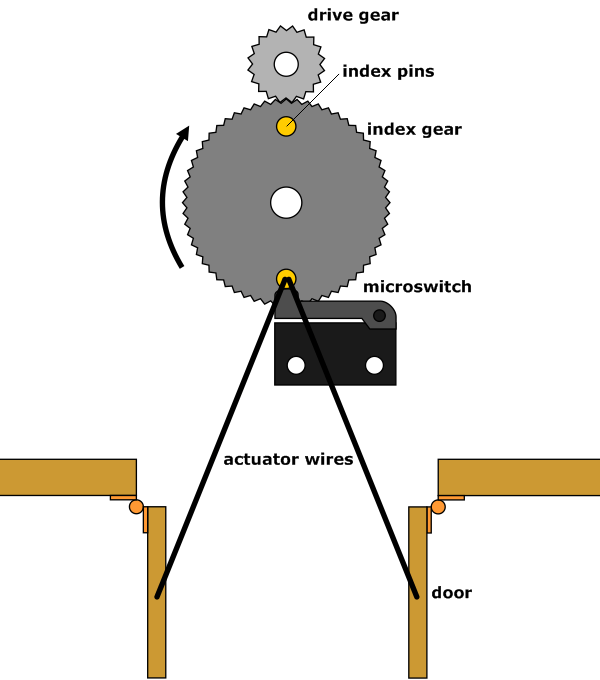
One oddity is that the roof peak does not align with the middle of the doors, so the mechanism is actually off-center. This was both a problem and a happy accident. The problem was that the wires moved slightly different amounts, but had to be the same length to get the same range of motion, so one of them simply flexes when the door reaches its travel limit (indeed, this made the mechanism very robust: accidentally moving the open doors causes no harm). On the plus side, the doors do not move simultaneously, which looks more natural and less mechanical. See for yourself:
|
|
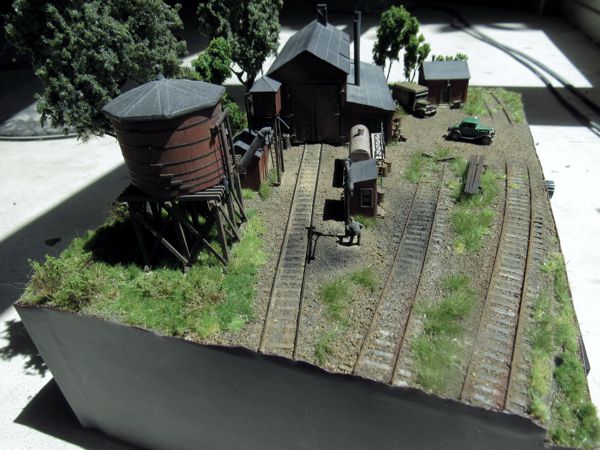
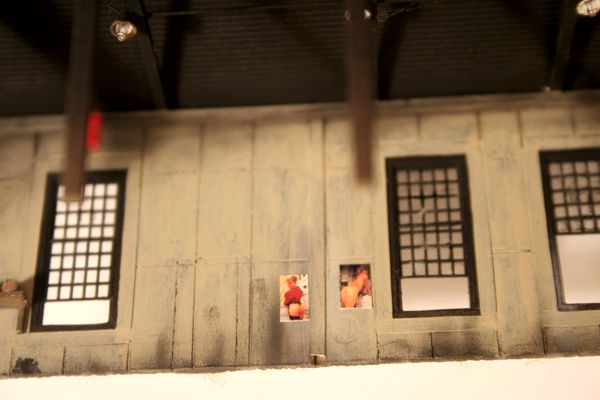
The enginehouse currently resides on the Where She Sleeps diorama.
|
|