
Kiddie Train Ride
First Generation
I created this goofy effect for the Mountain Vista, which was a cheesy tourist railroad, so it would have stuff like this.
It all started when I received an email from a modeling friend in the UK. He was beginning a new N Scale layout that was to feature an amusement ride, and he wanted to pick my brain about T Gauge. I replied that I'd been out of the scale since 2013, and forwarded a few links to some key resources.
Then I sat thinking for a bit. My friend had unknowingly planted a seed. Granted, it was a tiny one: I only had a 3" x 6" space for a loop of track, which made for some darned tight curves! That would automatically eliminate any rolling stock with two trucks—T Gauge trucks don't swivel nearly enough to handle 1.5" radius curves. (Trivia: T Gauge track in N Scale is almost exactly 18-inch gauge.)
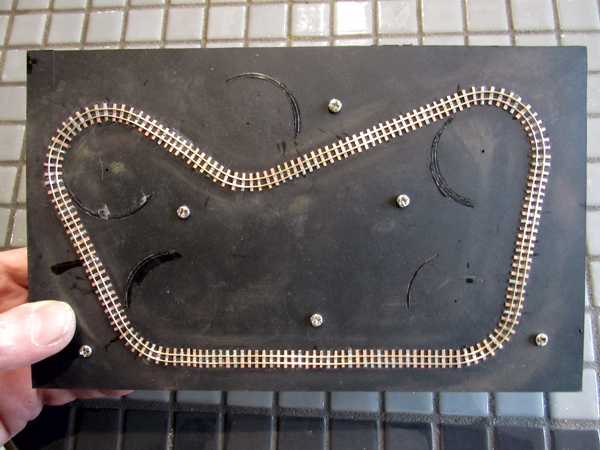
Using a paper template of the space for the loop, I began bending flex. I'd wanted the loop to be a single piece of flex, but I found it nearly impossible to achieve the right shape in a single shot. After three tries, I extracted the two best pieces and joined them together using T Gauge rail joiners.
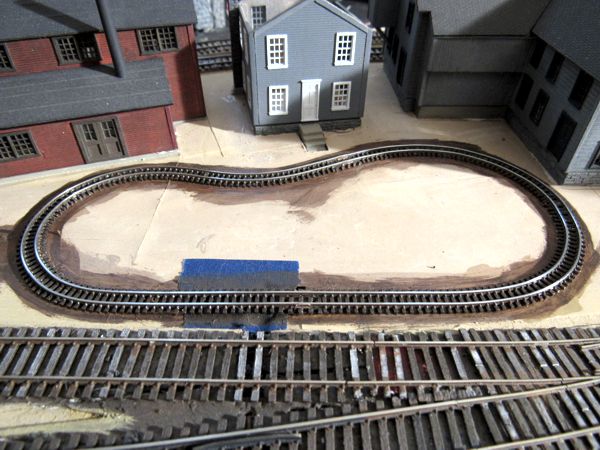
After soldering the joiners and attaching feeder wires, I installed the loop of track on the layout permanently with CA (above). Then I painted the track, which completed the easy part. The really, really tough part would be making a functional locomotive. The advantage I had was that it didn't have to look like anything real, much less anything at 1:450. As for a mechanism, I'd leverage a chance discovery: the threads of a 2-56 screw mesh surprisingly well with the gears on T Gauge drive wheels; this would allow me to engineer a relatively simple worm reduction drive.
Many hours were spent staring at a box of tiny parts, holding gears and wheels up next to one another, scribbling sketches on paper, and pretending to build the mechanism in my mind dozens of times. When I'd rehearsed the plan enough times, I got to work. First, I made a pair of spacer blocks precisely the width of the motor out of PC board material. Into each of these I drilled a dimple to make bearings for the ends of a "worm" made from a 2-56 screw: I chucked the screw into a drill and tapered the ends to points with files. Then, I drilled and tapped a nylon gear scavenged from a micro servo, threaded it onto the worm, and bonded it in place with CA.
Next came the side frames, which I made from extra-thin PC Board. I assembled the side frames onto the spacers with CA, with the worm positioned between the spacers such that it spun smoothly. I press-fit the motor down into place until its pinion gear engaged the gear mounted on the worm, then bonded the motor permanently in place with CA. I quick tested the motor to be sure it ran smoothly before continuing.
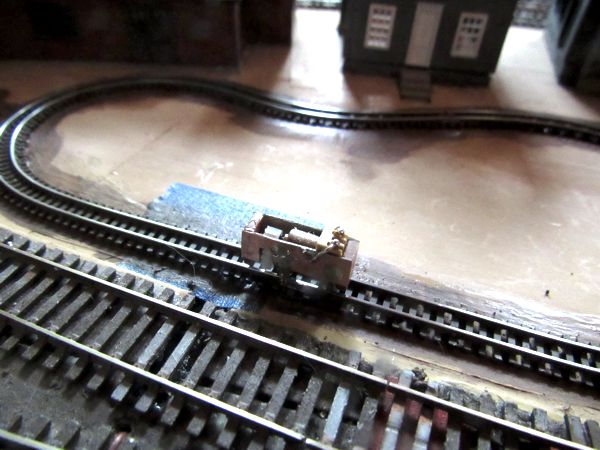
After cutting down the drive axle bearings, I soldered them to the sides of the chassis, then installed the wheelsets. Moment of truth time: will it run? It ran... sort of. Noisy and stuttering, it almost hopped down the track like a jackrabbit. But it did run. Which means this proof of concept model could be improved, so I placed an order with a company in the UK for a slew of spare parts to make a better version.
|
|
The size looked good with the loco placed on the layout.
Second Generation
T Gauge has historically had performance issues, and considering the effort I'd put into the project so far, I felt the ROI wasn't going to be worth it. That's when I was reminded by a Railwire member about Teeny Trains, a magnetically-propelled novelty toy (I used to own one back when they were first introduced). As it happens, at $38 their cheapest product was affordable and appealing, and it was also comparable in size to the original loop of track I'd made. That the magnetic track looked hokey was no issue at all; the only drawback I could see was the inability to control speed, and I was willing to trade that for reliable operation.
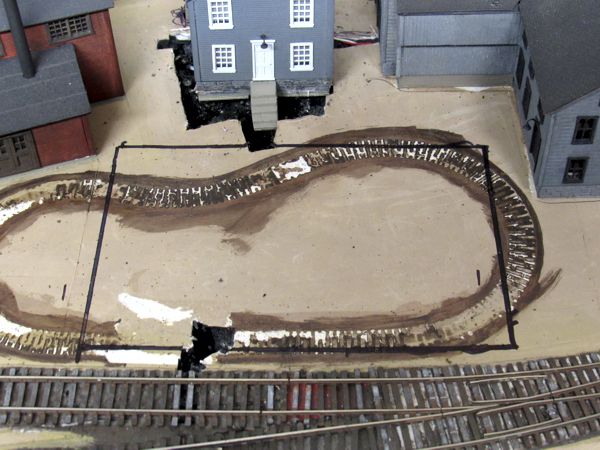
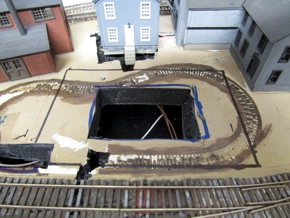
And so on 13 October 2020 I placed an order for an off-the-shelf solution to this little scene. I had to move the brewery office back a fraction of an inch, but that was trivial. Above, the loop of T Gauge track has been removed, the brewery office relocated, and the space to be occupied by the Teeny Train marked out.

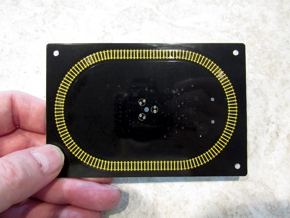
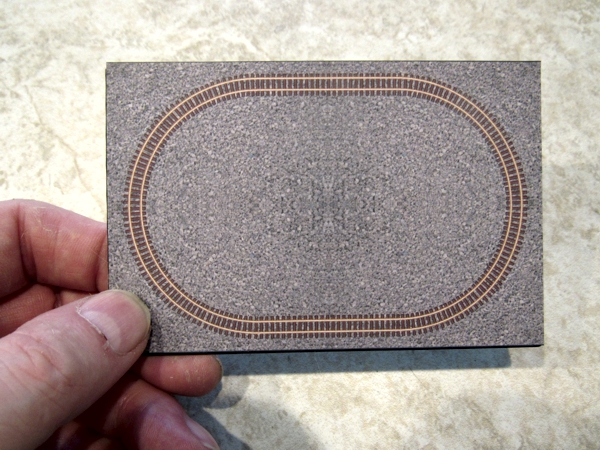
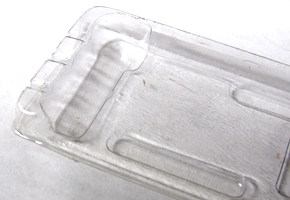
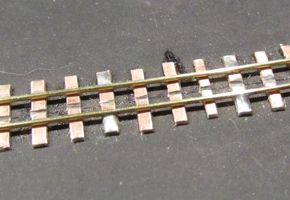
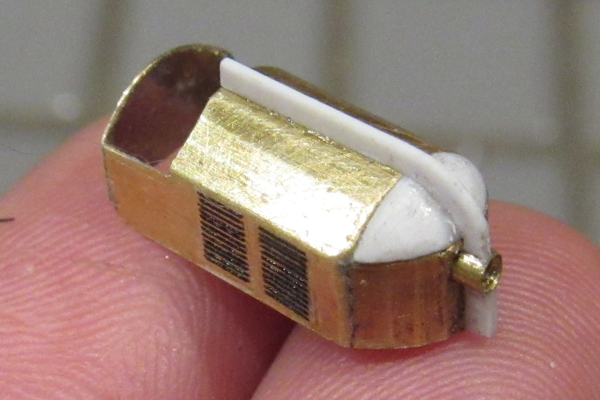
The Teeny Train set arrived on 19 October 2020. The whole thing is built on a single piece of thin PC board (above), which was perfect: all I had to do was create a relief on the layout for the components mounted to the bottom of the board. (The grey circles in the corners of the board are where foam rubber feet were attached, which I removed.) Then I rendered artwork for better-looking track by drawing ties and rails over a gravel texture background. After printing the art on shipping label stock (which I chose because it has an opaque layer), I sprayed it with several coats of clear flat sealant, per a fellow Railwire member's recommendation. Then I cut it out and applied it to the PC board (below).
Installation took a few minutes; I just had to create an opening for the components, and a slot for the power connector (below left). After that, the unit neatly dropped into place (below right); I secured it with four small dabs of white glue, just in case I needed to pop it back out.

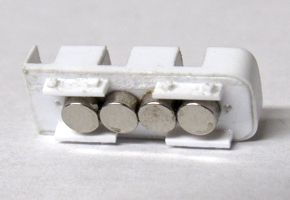
The next challenge was to create the rolling stock, and what I ended up with was quite different from what I'd envisioned from the outset, both in terms of appearance and fabrication method. It was several days of trial-and-error before I managed to assemble cars that ran consistently, because it required a nearly-perfect combination of magnet type/placement/orientation, car weight and surface friction in order for anything to work; I built the locomotive five times, and the passenger car three times. Each of the cars began with four 0.0635" x 0.125" disc magnets bonded to a 0.020" x 0.250" strip styrene base. They're coupled together with a 0.020" brass wire link—fortunately, when properly coupled, a pair of cars would run more smoothly than they might individually.
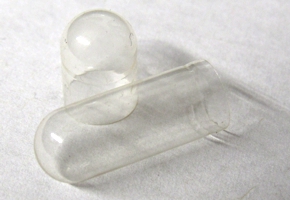


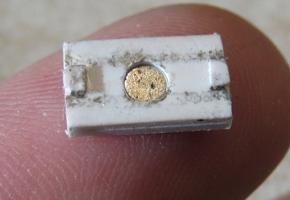
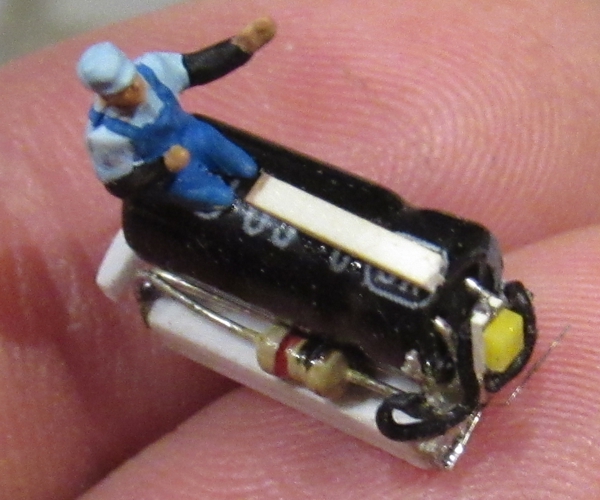
LOCOMOTIVE: For the most lightweight shell possible, I made the "boiler" from a pill capsule (what Micro-Trains uses to store coupler springs, top left) sliced in half, and mounted to a 0.010" x 0.125" strip styrene body. Then I added a great big headlight and fins inspired by the 20th Century Limited. Looks pretty goofy, but hey, it's a kiddie ride!
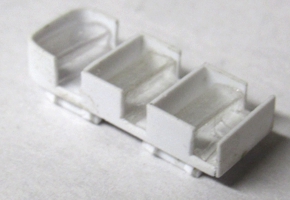
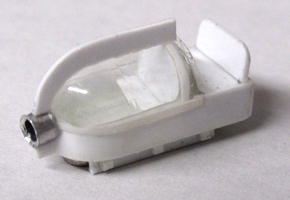
PASSENGER CAR: To keep the weight of the passenger car down, I used bits of vacu-formed rolling stock nest (top left) for the seats, with seat backs and car sides made from 0.010" x 0.125" strip styrene. I also made fake truck sides from 0.020" x 0.060" strip styrene with journal boxes made from 0.030" square strip stock.
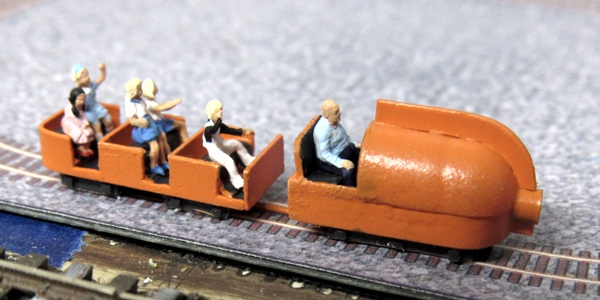
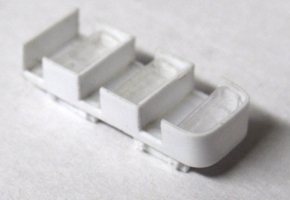
FINISHING: I painted the train orange (Valspar Flat Dark Palomino), similar to the railroad's Great Northern Overton coaches, so that the two rides were tied together by a common paint scheme. Seats, floors and trucks received Floquil Weathered Black. Once finished, I populated the train with an engineer and five children. I may one day make some decals to letter it.
|
|
Third Generation
I was going to utilize the second generation unit in a new animation diorama, but the more I looked at it, the less I liked it. After the success of the new road compactor, I was inspired to try magnets again. I had a healthy supply of stuff like the nylon mini-chain and parts, a surfeit of geared motors, and scads of PC board, brass wire, and whatnot. Why not use it?
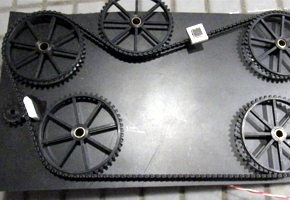
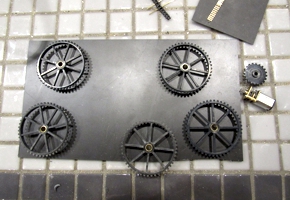
The first thing I did was arrange the biggest pulleys I had to create an interesting serpentine route (below left). Then I made a holder for a mini super magnet by drilling out a pair of links and inserting brass wire to secure the magnet to the chain (below right).
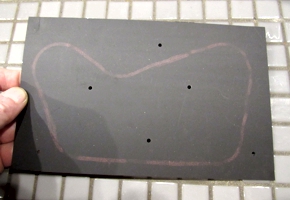
After making the roadbed from thin sheet styrene, I used the mechanism to trace the route out on the surface of the roadbed sheet by placing a piece of tracing paper over the roadbed (below left) and running the unit until with a raw magnet on top until it left a trace (below right).
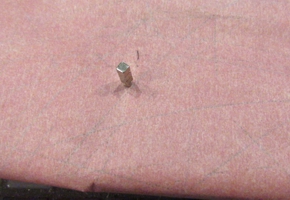
The track was difficult to lay, and it took three tries—I was surprised by how precise, and robust the tracklaying had to be. The ties are thin PC board that I sliced into narrow strips and Choppered to length. The rail is 0.015" brass rod, or ~2.5 N Scale inches, or ~20 pound rail. I made a track gauge so I could maintain a nominal gauge of 2.5mm, or ~15 N Scale inches. The ring marks (below) are the result of temporarily gluing a bottle cap in place to help align the ties.
For the train, I was going to recycle the rolling stock from the second-gen unit, but it turns out it was a lot less work to just start over with new. Each piece of rolling stock started with a block of styrene with a magnet embedded in the middle and a pair of small nubs to guide it. This produced the smoothest movement possible, far smoother than anything with wheels—trust me, I did a lot of experimenting.
Then it hit me: I could make a working headlight! But this bright idea turned out to be a serious challenge solved only after a lot more experimenting. What I ended up doing was adding electrical pickups made from 0.004" steel music wire on the ends of the loco base To help reduce flicker, I added a capacitor, although later I found it wasn't necessary, since the base sliding on the rails kept them very clean.
The engine shell is a mix of brass and styrene scraps. Its styling follows that of its predecessor, inspired by the 20th Century Limited.
After painting the rolling stock, adding people, then painting the track and adding vegetation, I gave the train a spin.
|
|
The ride now appears on the Saturday at the Park diorama.