To-Do List: Fascia
Originally I'd wanted the fascia and soffits to be finished with sheet metal that matched the roof. But the roofer was kind enough to warn me this would be quite costly. So I needed to devise a way to finish the fascia myself. I decided to use plain pressure-treated boards.
The results were not particularly satisfying—indeed, it looked pretty bad. I even tried staining the wood, but that only made it look worse. However, because the roofer was scheduled to begin work in just a week, I didn't have the time to come up with anything better. At the last minute I struck upon an alternative: use the same material as my fake board and batten siding (actually T-111 siding plywood) ripped into individual "boards" and applied horizontally instead of vertically. But what of all the lumber I'd already purchased? I'll use it for exterior trim around the windows and doors; nothing will go to waste.
With the clock ticking, I needed to get all of the roof trimmed back and fascia installed as quickly as possible. To help accelerate the process, I employed two tricks: one, I built a jig to make a knife mark along the edge of the roof indicating where to trim it; and two, I installed the fascia by lying on my stomach at the edge of the roof and attaching it from above. Although I was essentially working upside-down, which was no picnic, working from a ladder would have been impossible, since the ladder would need to rest against the fascia I was applying! It was brutal work, made worse by a case of the flu. Not to mention scary, given my acute fear of heights!
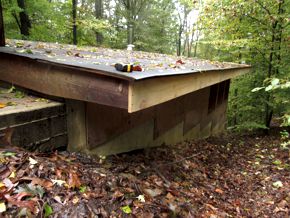
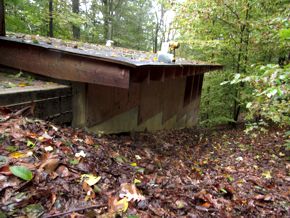
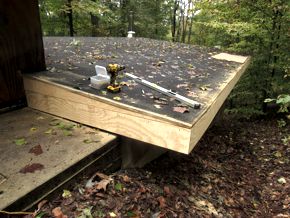
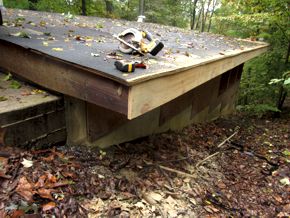
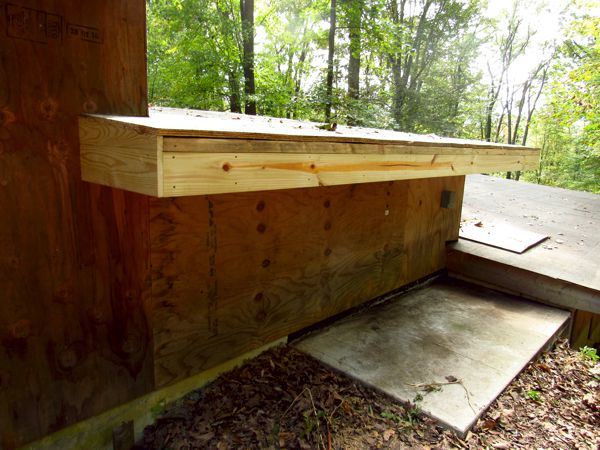
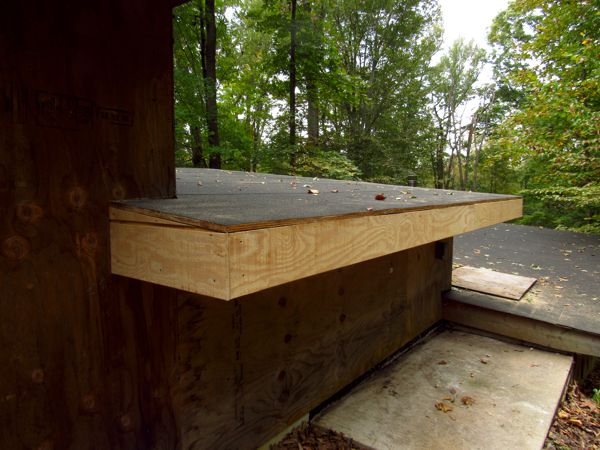
Top left: the starting point. Top right: sheathing plywood attached. Bottom left: roof sheathing trimmed back. Bottom right: fascia finish boards applied.
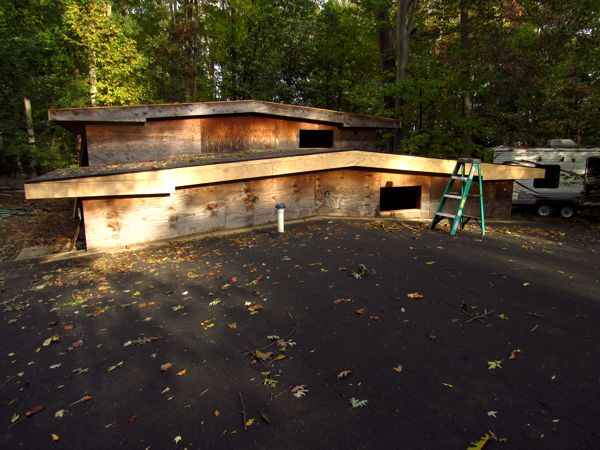
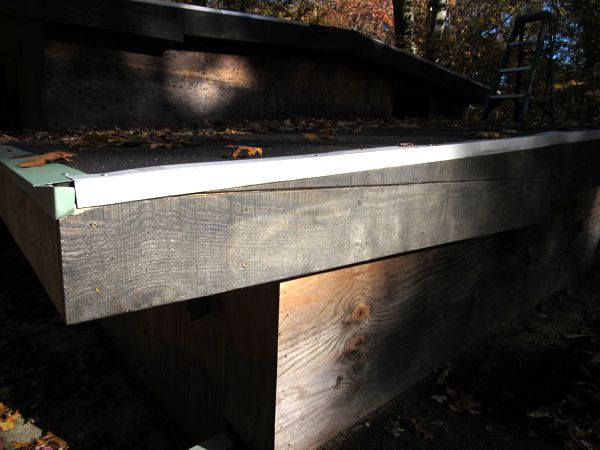
One of the trickier bits to work out was how to run the boards at the serifs (flat sections at either end of the sloped parts). I tried three different styles, and finally settled on an arrangement were the horizontal portions had horizontal boards. It's subtle, and difficult to discern in the image above, but it worked better than other things I tried.
All of the fascia was officially completed on 1 November 2018. Next came finishing, which meant choosing a wood stain/sealer color. After learning that the color chips I brought home weren't even in the ballpark, I purchased a few small sample containers and applied the colors to a scrap of wood. My final choice—Behr semi-transparent "Slate"—went on almost black, but dried to a wonderful weather-beaten dark grey that looked better than I'd expected. I was at last happy with the fascia.