Kitchen: Floating Breakfast Bar
For some reason, most architects and interior designers with whom I've spoken have advised against breakfast bars. I'm not sure if it's because they're considered out of fashion, or what; I've never gotten a satisfactory answer. I've always liked them, and I knew I'd have one since practically forever. (And my architect had no choice, since I was paying him to do what I wanted.)
It went through only one design revision: Originally it was to be angled (below left), such that it was parallel to the corner window, just for the sake of added visual interest. As I was laying out the kitchen framing, however, I realized it created an awkward corner space, and also stole some valuable counter space, so I switched to a right-angle affair (below right), even though I felt it was just a bit boring.
Devising a way to make it float occupied a fair bit of my time. I entertained the idea of ordering a custom-fabricated steel frame through a metalworking friend, but when it dawned on me that it would be incredibly heavy and challenging to install, I decided to "wing it" on my own.
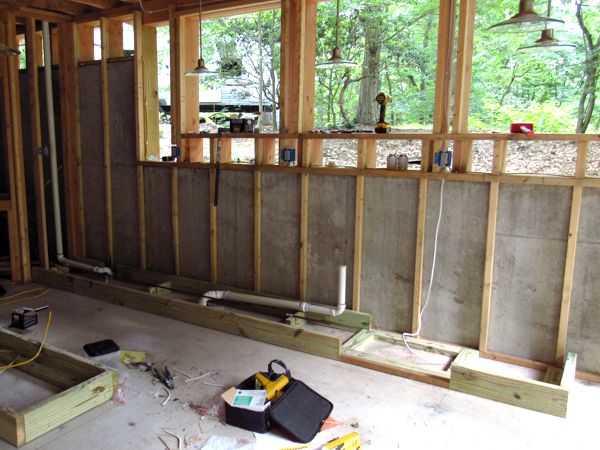
Construction began on 5 August 2016. Since the breakfast bar would be an integral part of the kitchen cabinets, I began by assembling a base for the cabinets, which runs the full length of the wall from the oven enclosure on the left all the way out to the last window on the right.
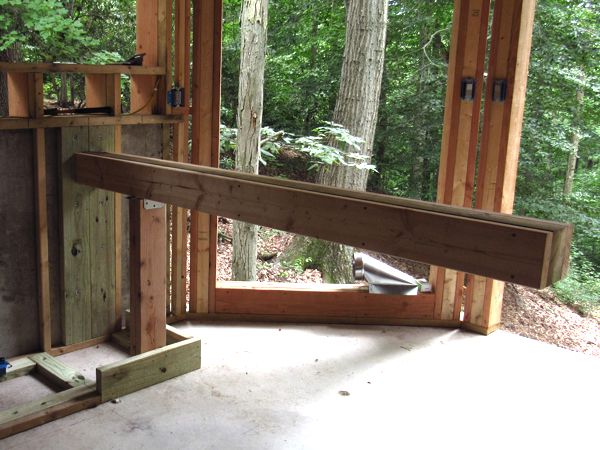
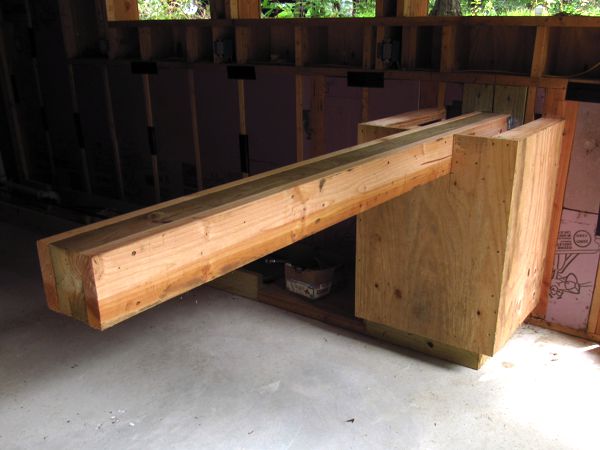
I then made a 7-foot long beam consisting of a 4x6 post sandwiched between two 2x6 boards (I would have simply used two 4x6 posts, but I didn't have enough material on hand). The beam was anchored to the wall within a notch cut in a pair of pressure-treated 2x6 boards secured solidly to the foundation wall. The beam was cantilevered out atop a pair of vertical 2x8s anchored to the floor.
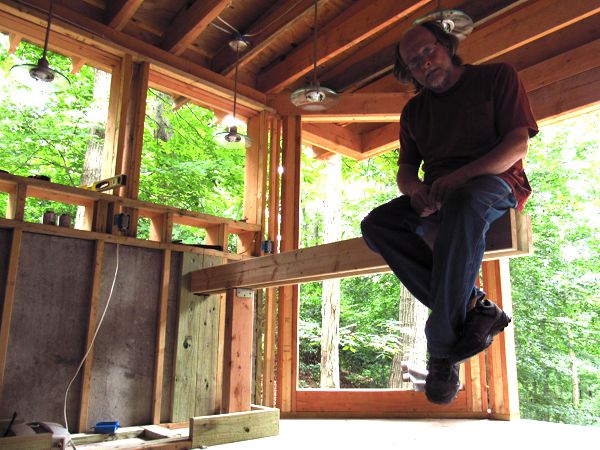
I tested the assembly by sitting on it; deflection under 185 pounds was a small fraction of an inch. (The apparent bend in the beam is due to camera lens distortion.)
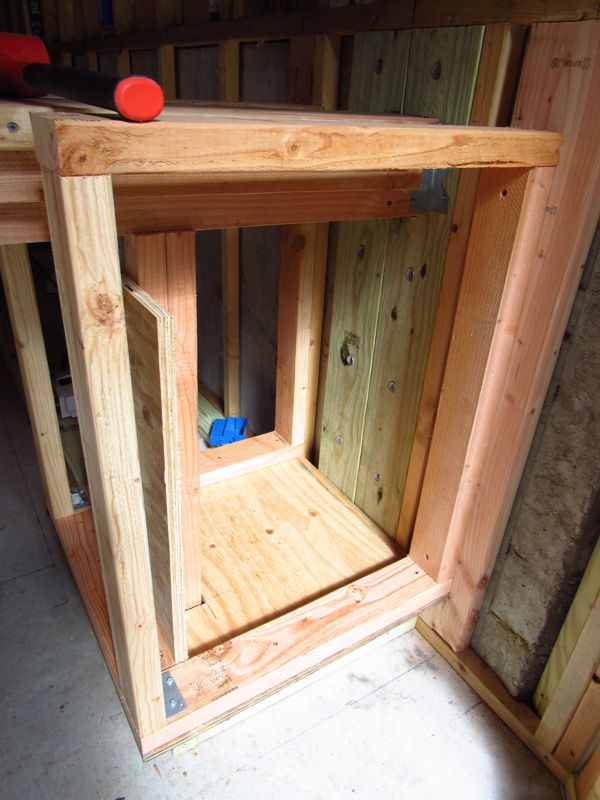
The next step was to frame a faux cabinet around the anchor structure. It may seem like a waste of storage space, but there was no practical way to make use of the awkwardly-shaped area within the enclosure; and besides, I don't even need all of the cabinet space I have as it is. The odd-looking vertical piece of plywood just left of center (below) is a sway brace to keep things square until the enclosure was done.
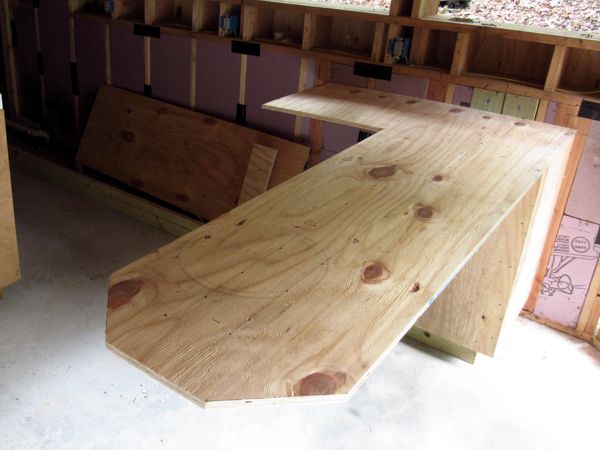
The framed enclosure was sheathed with ½-inch plywood, which will eventually be clad in either ceramic tile or wood to match the cabinetry, while the beam will be covered with a hardwood veneer.
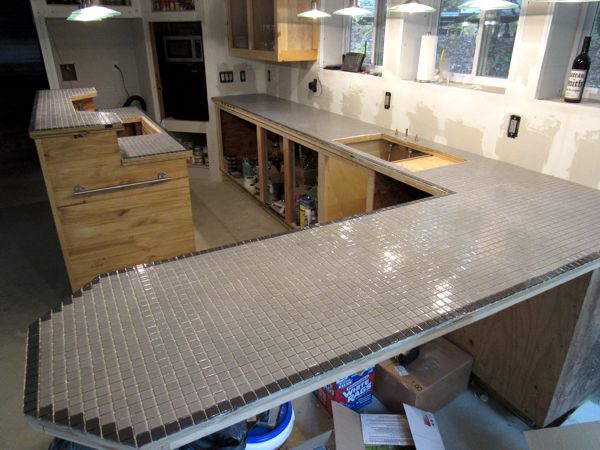
Finally, the assembly was topped with ¾-inch plywood, which will provide a base for the countertops, and increase the overall strength and rigidity of the floating peninsula. Note the cut corners.
It was tiled on 22 October 2019.